3D Easy-ware

“What are you gonna do with this thing?” - the most common question I get about my 3D printer. To be fair, that’s a great point. But it’s a great purchase, here’s why.
I’m working on a ~secret~ project and realized that I would need to iterate a ton for me to get a working version. Ordering parts on Amazon is doable but I needed a better solution.
I’ve used 3D printers in the past and knew how to use CAD (computer-aided design) but I couldn’t bring myself to spend so much. Until I went on Reddit. Everyone pointed to this one entry-level printer named the Ender 3. After a little Googling, this seemed like an amazing product! The community and support were everywhere, and the best part: the price. For under $200 I had a new printer that would be at my apartment in 2 days.
I paired it with 3D Fuel filament and I was off to the races. Here's my journey.
Assembly
Building a printer takes a little time and a little patience. Don't let it scare you, it’s basically a glorified Ikea desk or Lego set.
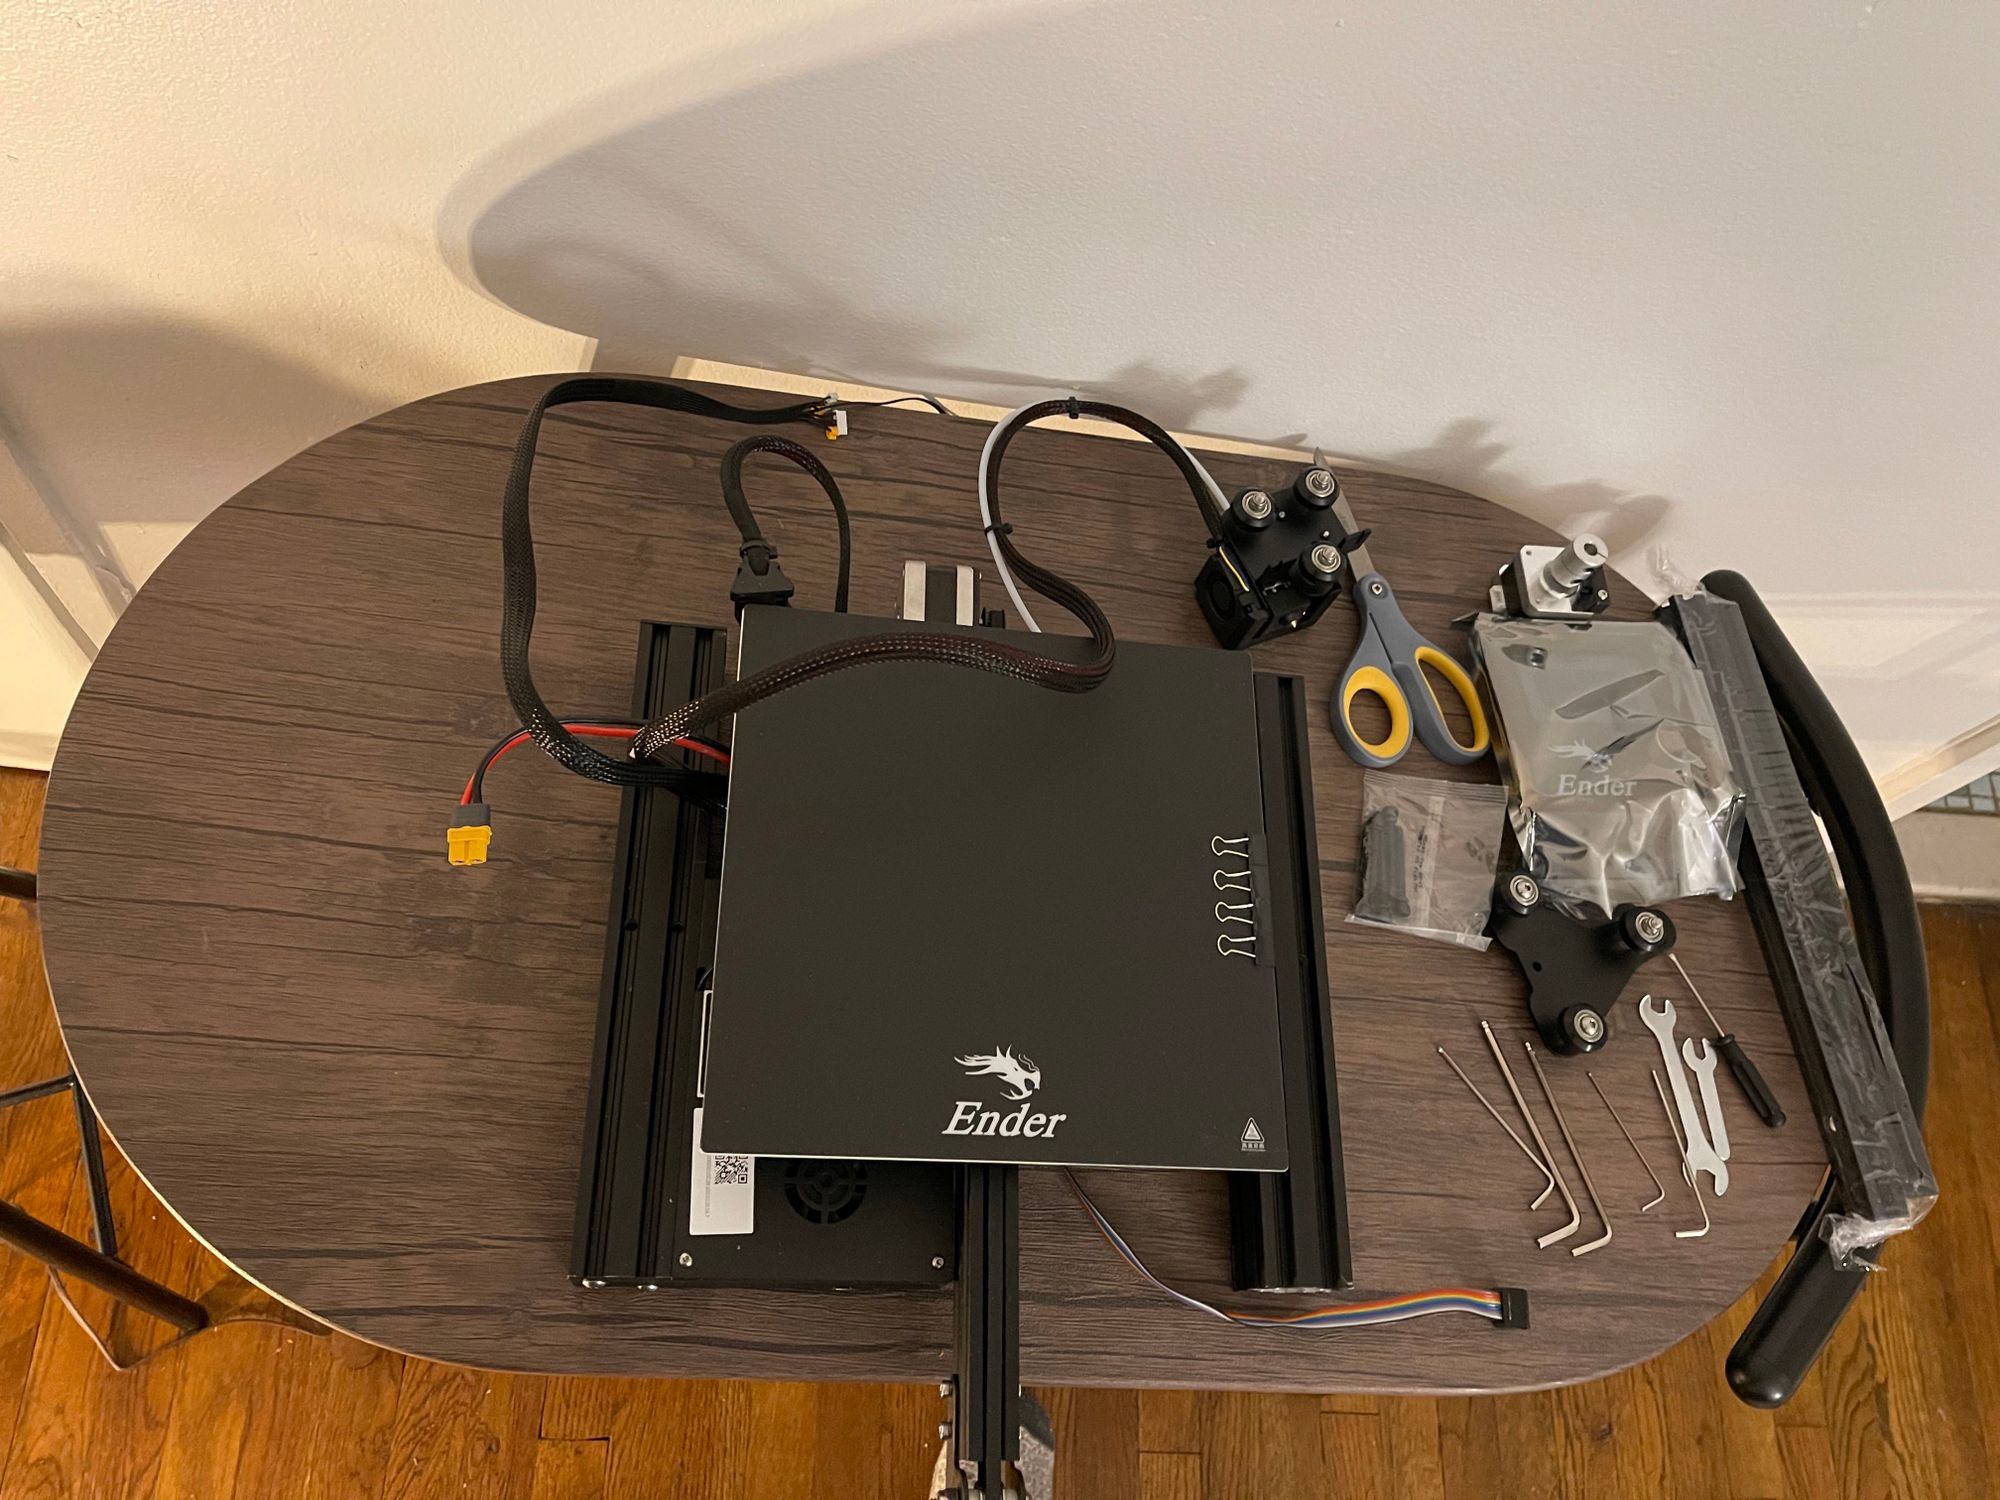
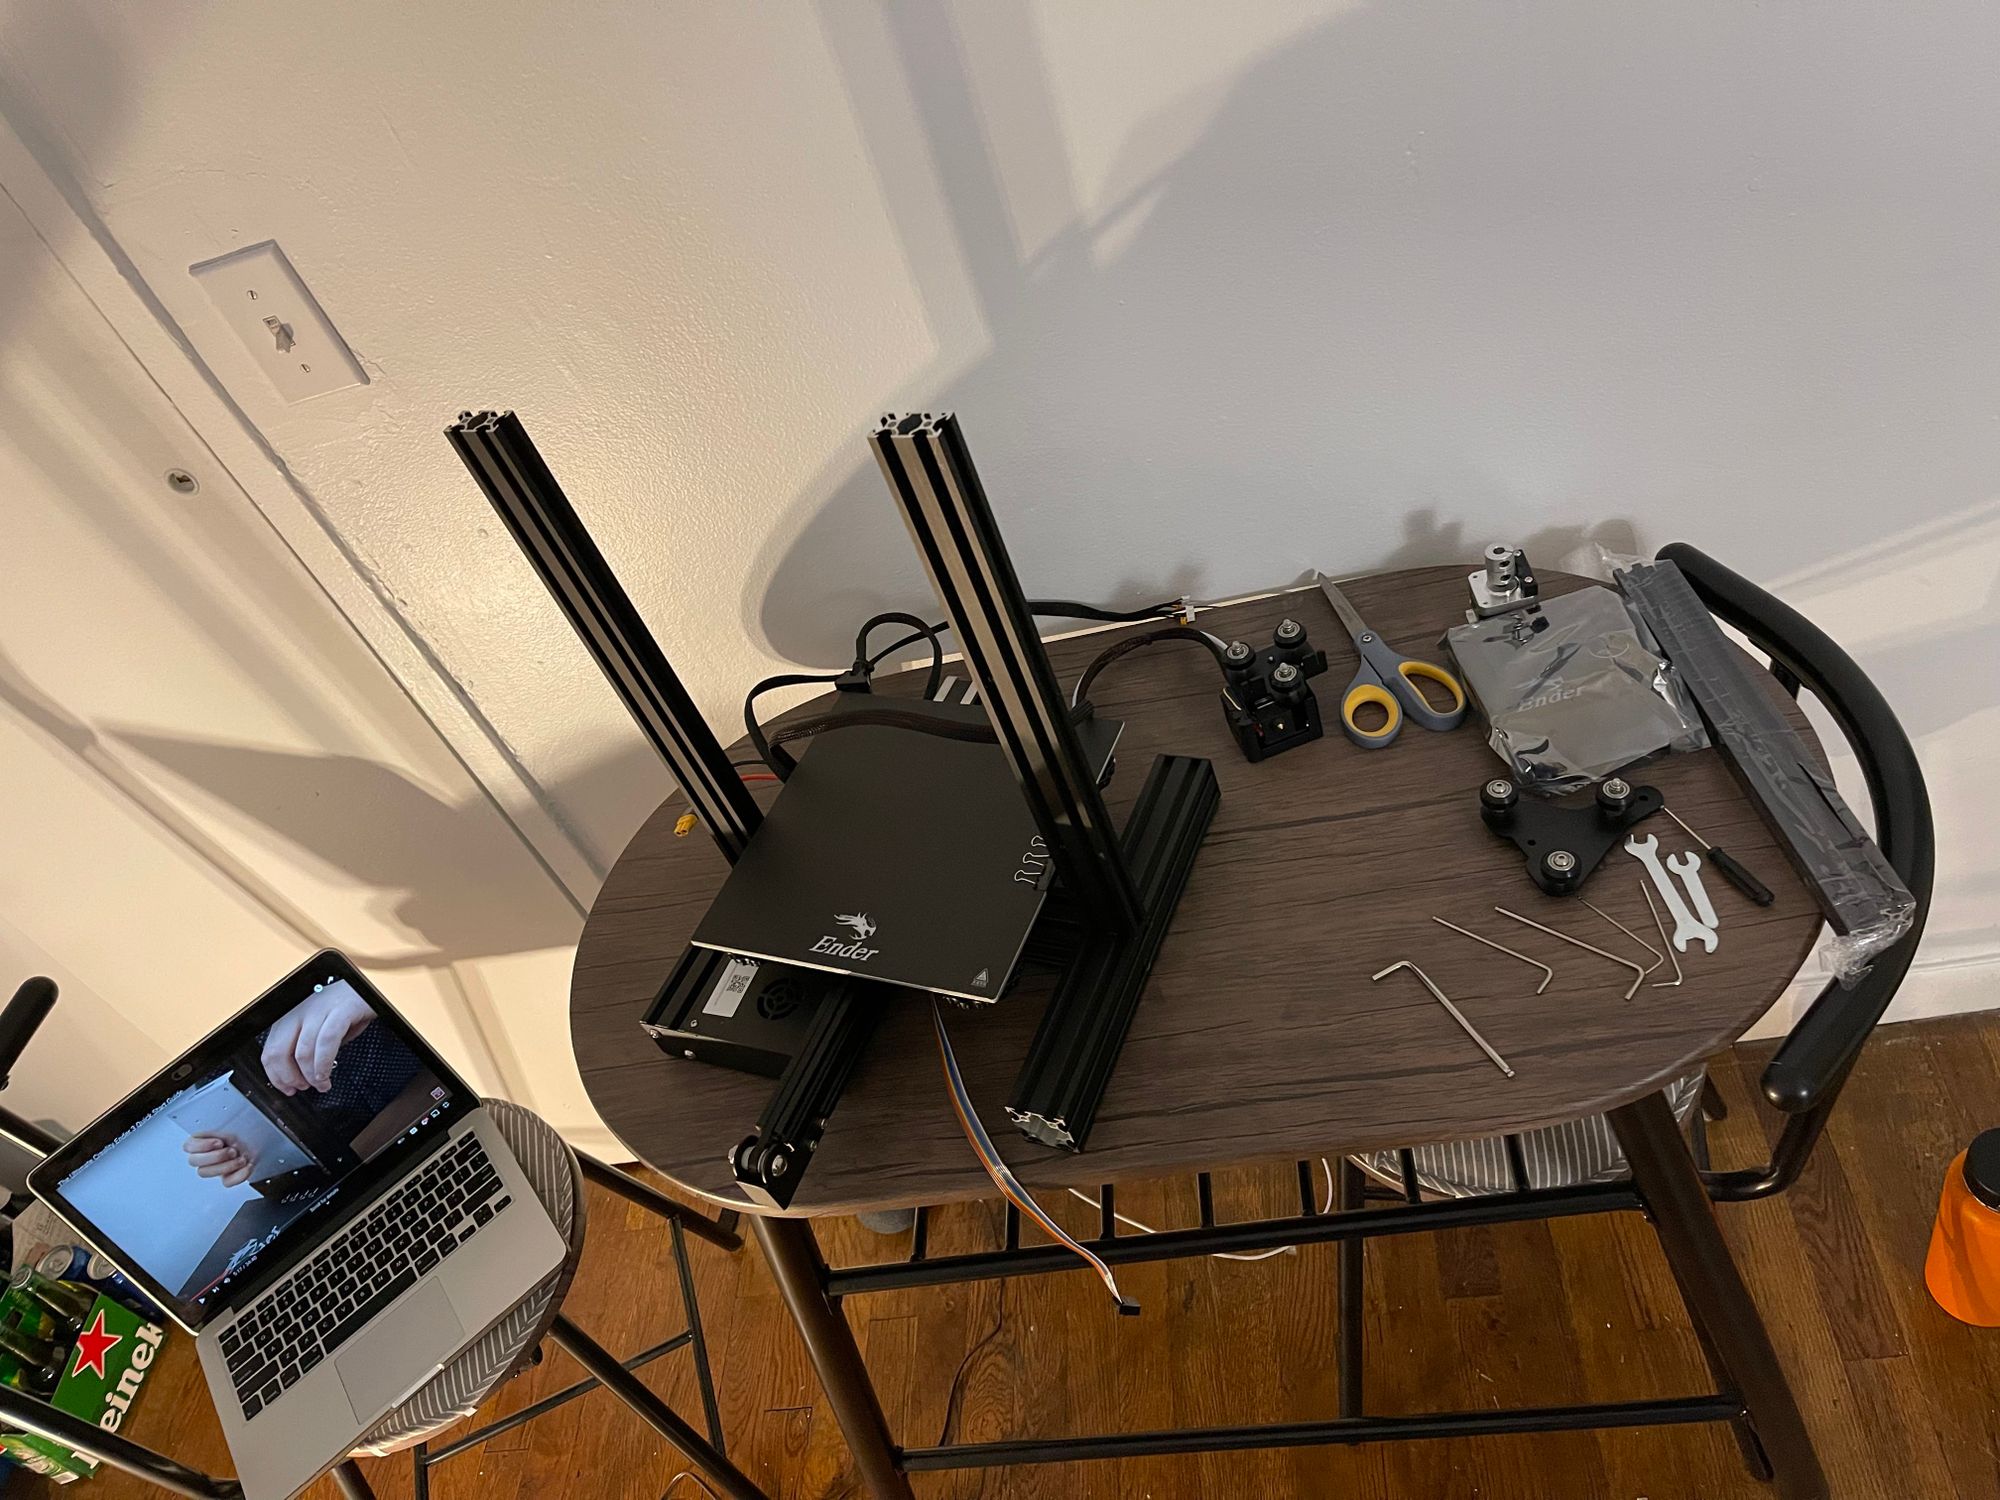
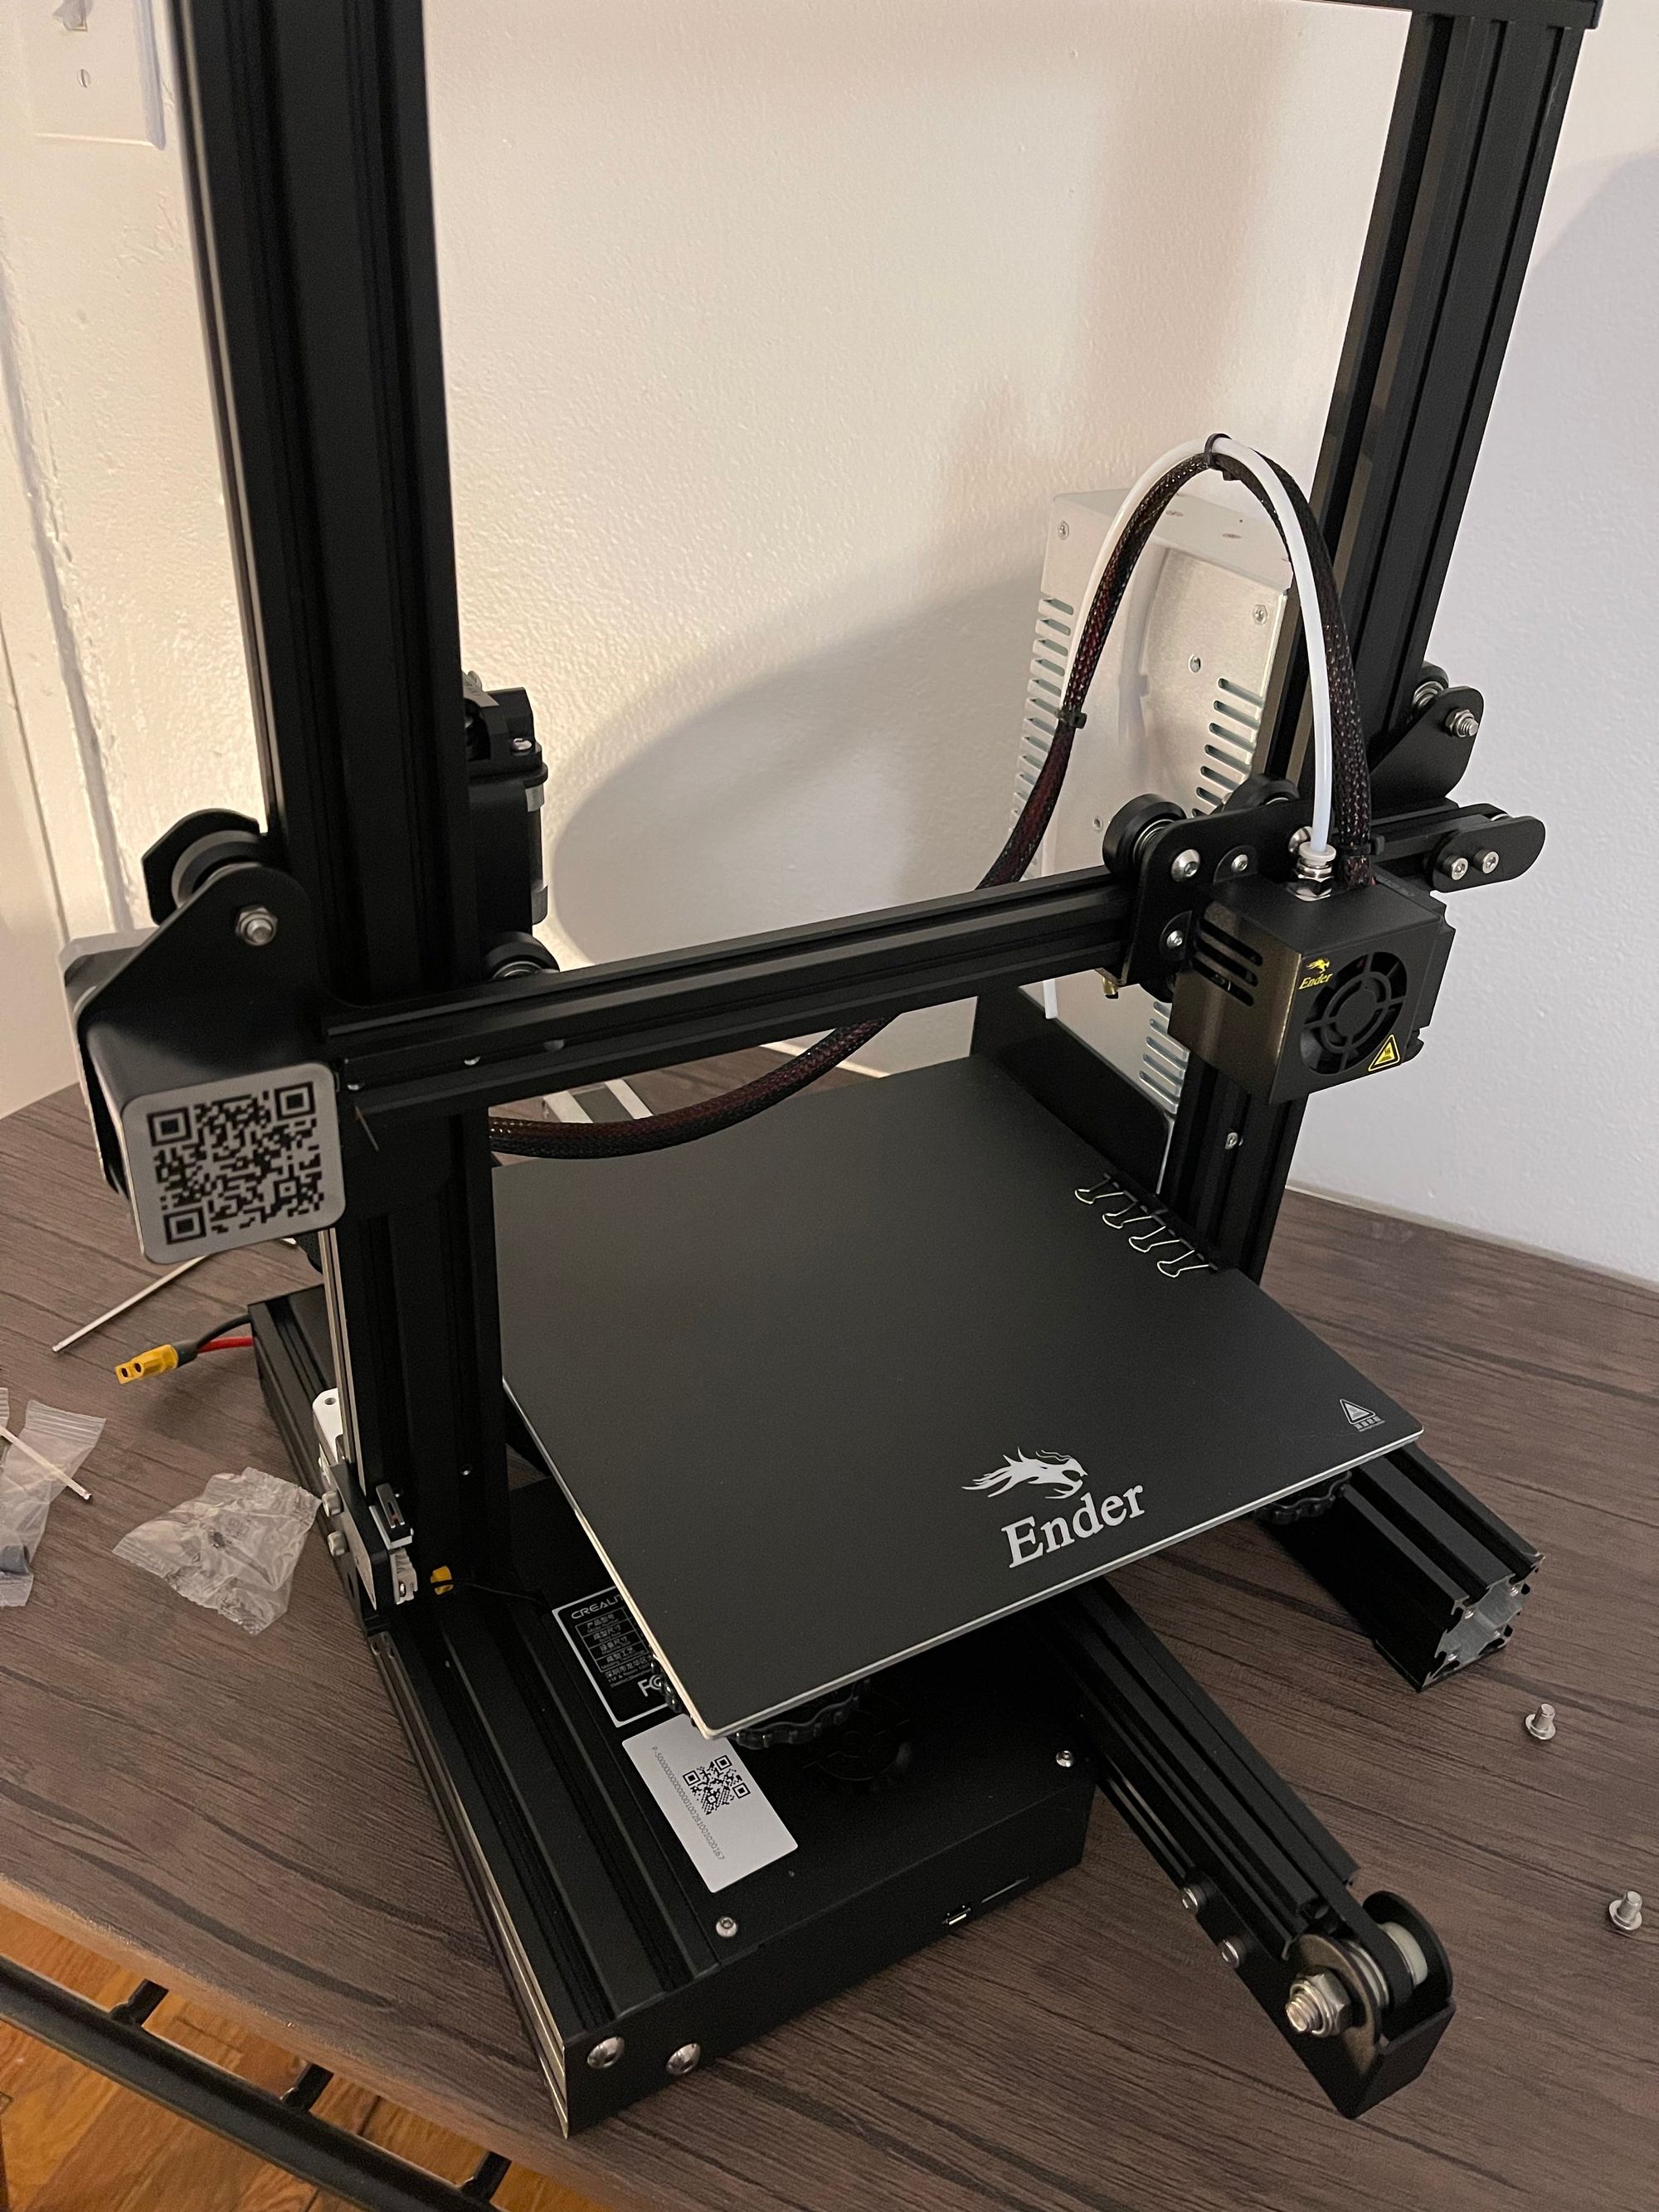
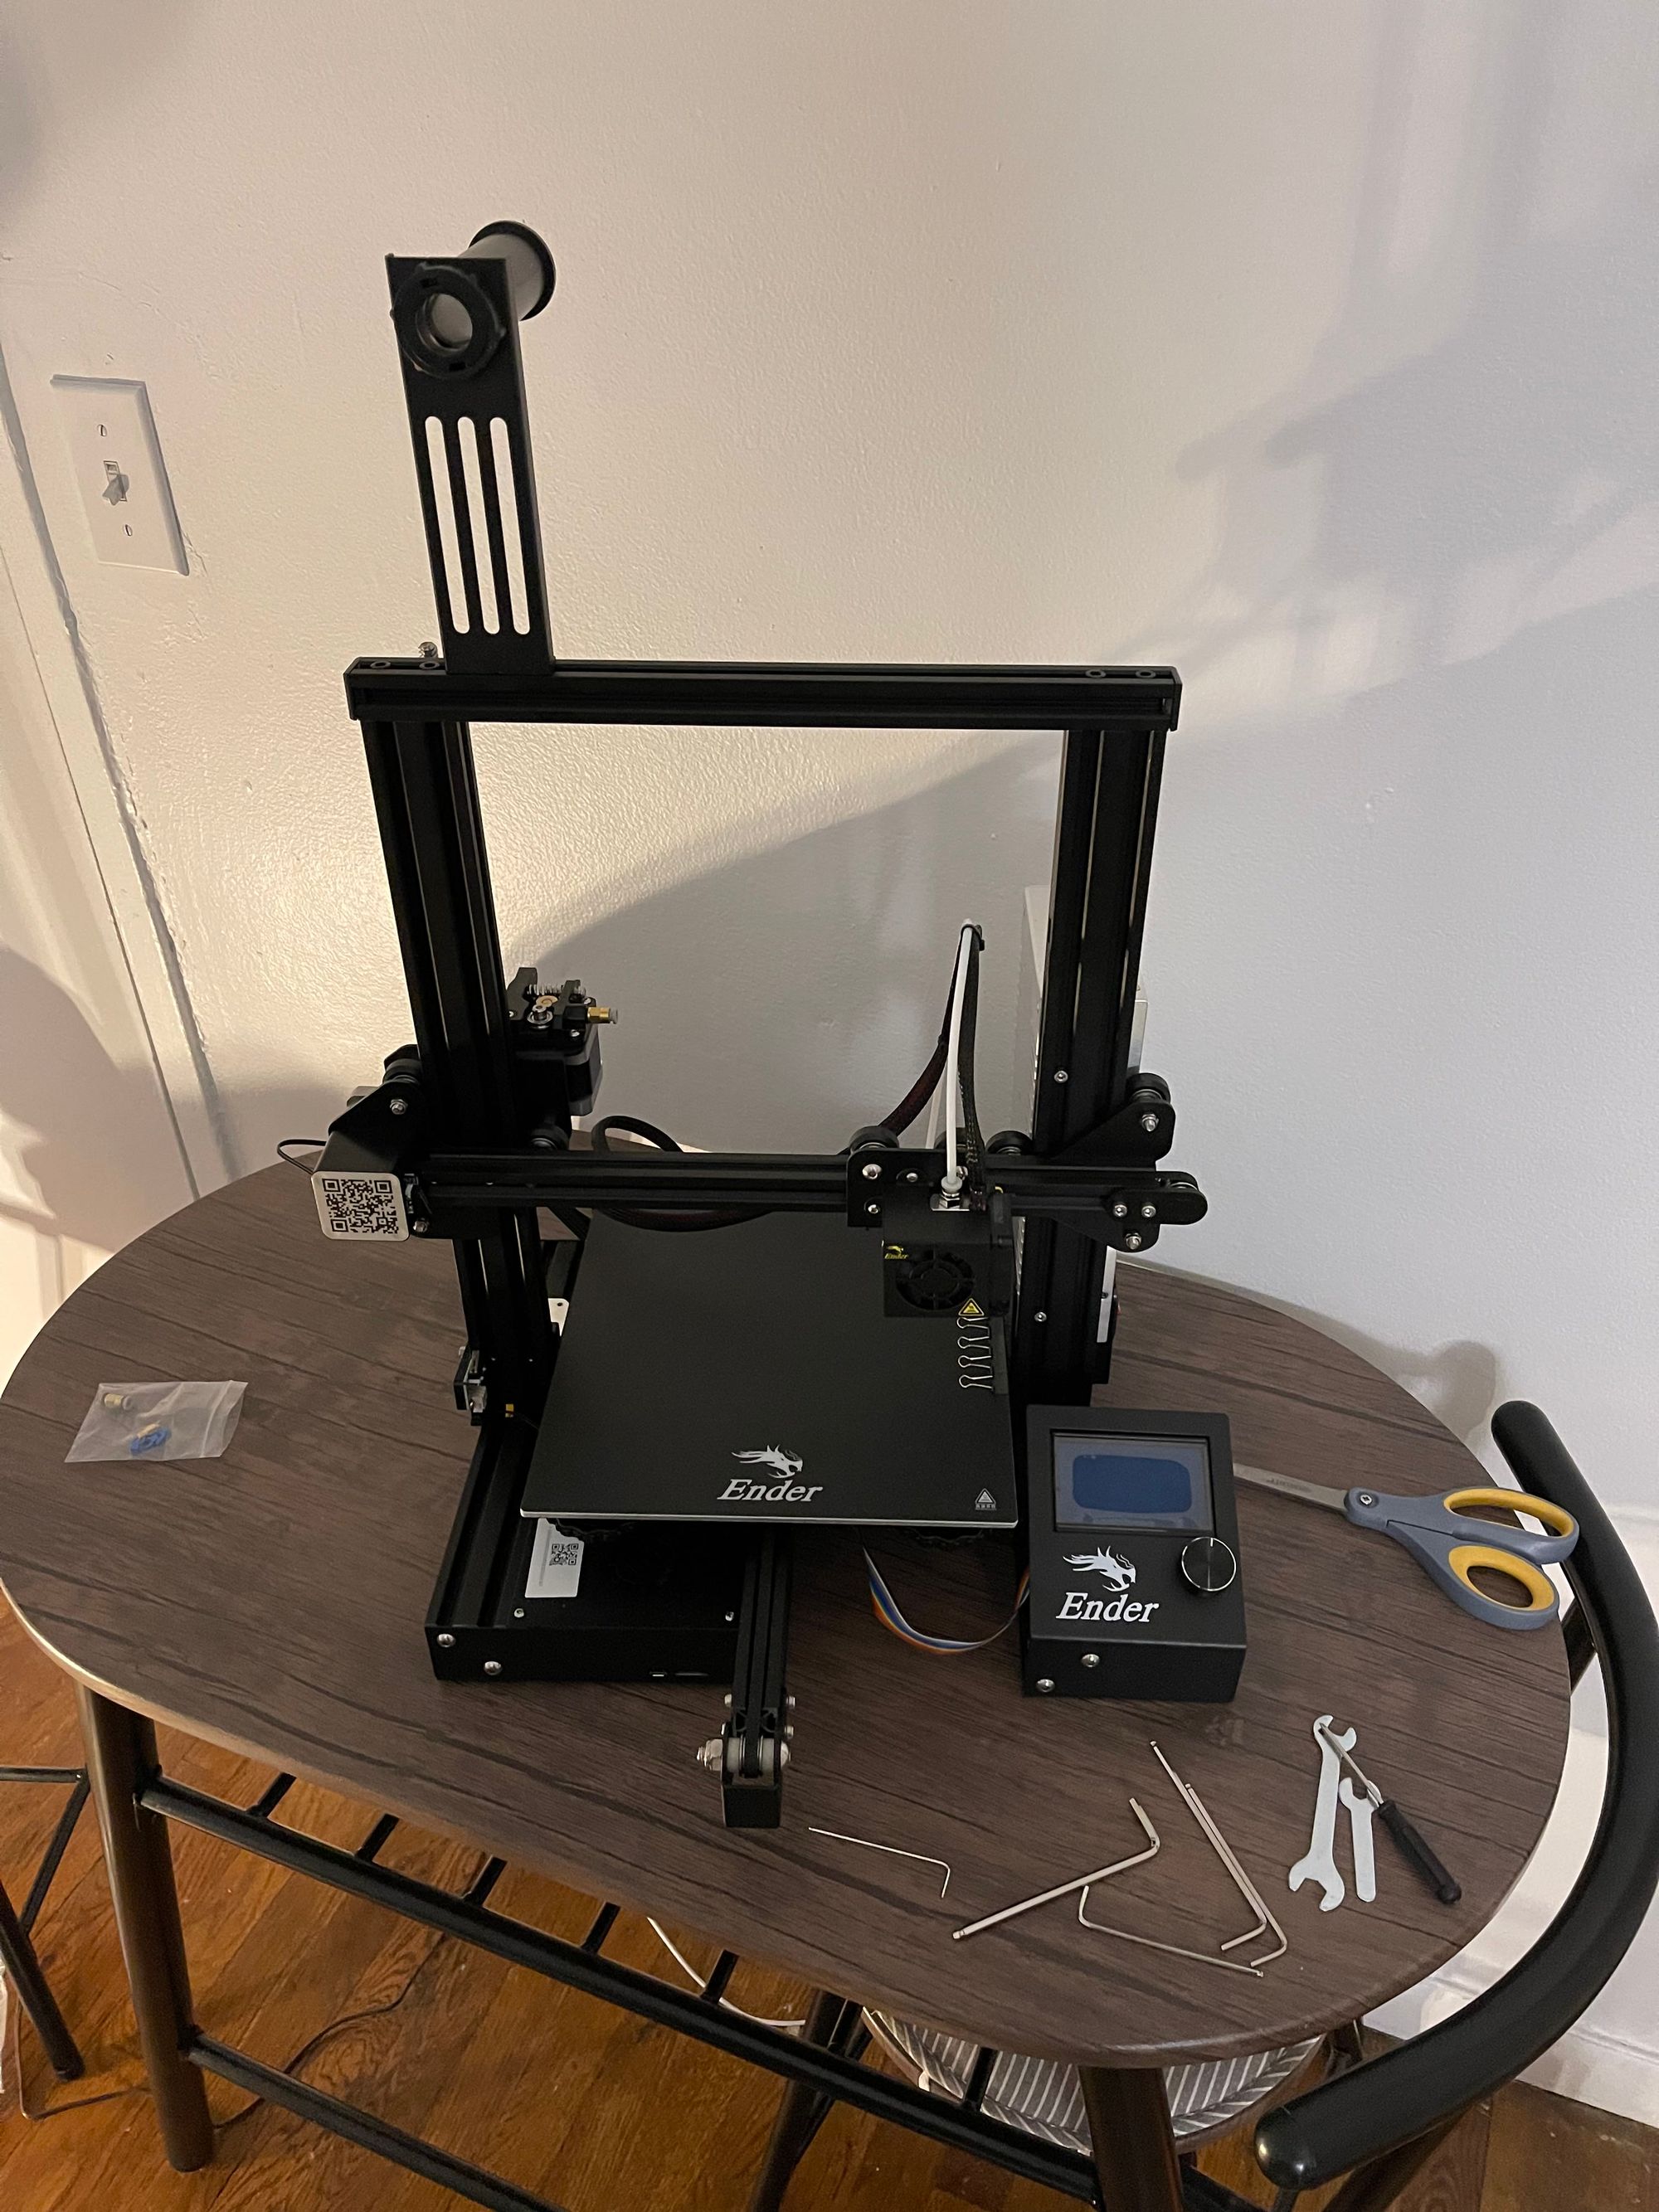
When you get the Ender it comes looking like this:
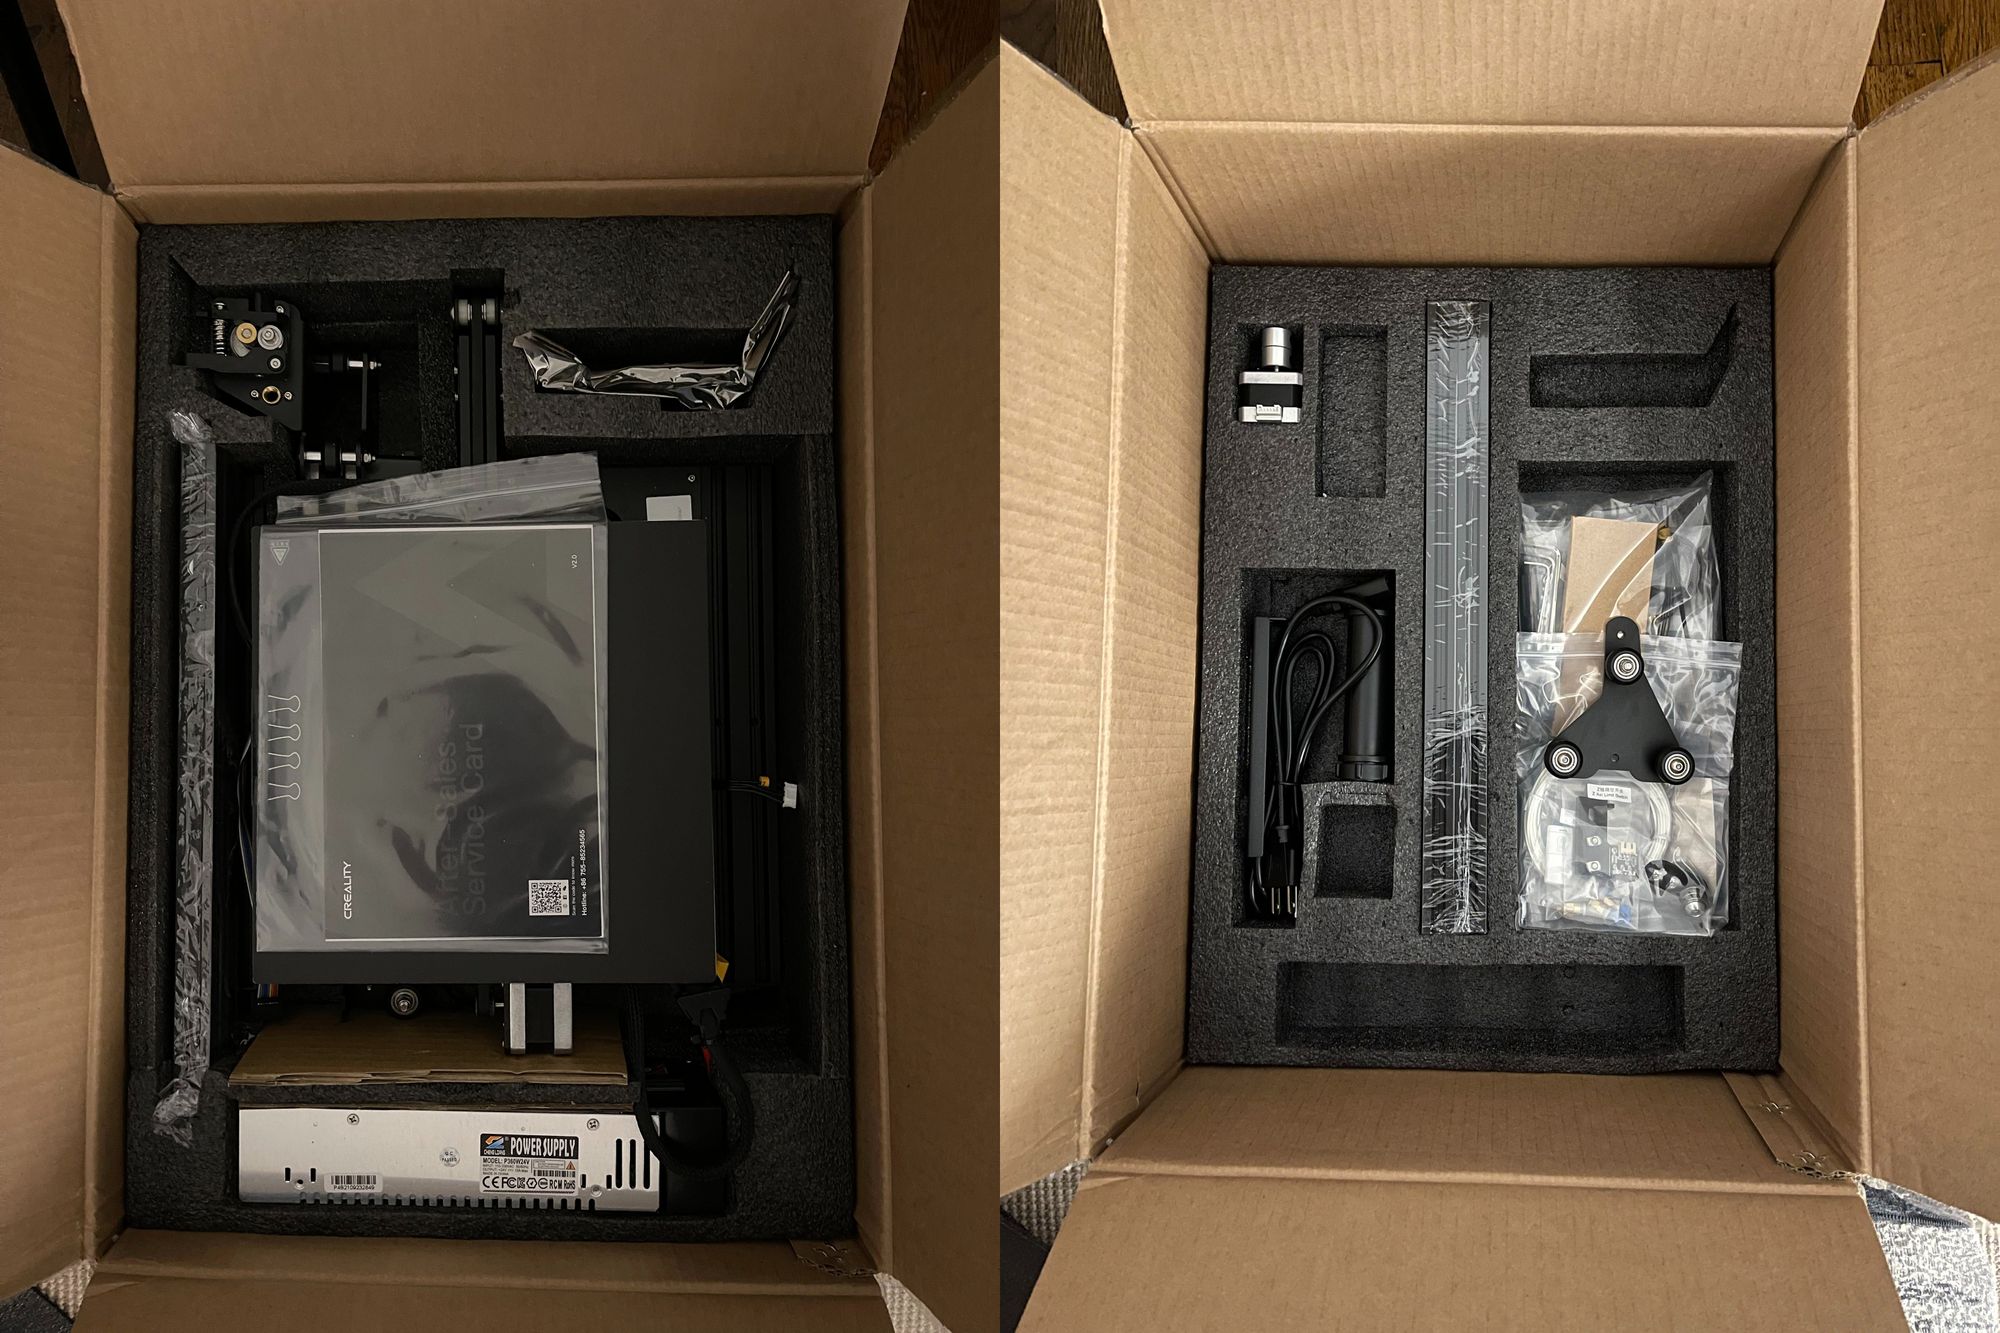
A big wtf. But it’s super simple. The instructions are low quality but that’s where you lean on the community! Here is a great video on how to assemble the printer (I’ve linked to the part where you need different screws). Here are some progress pics of how it was all put together:
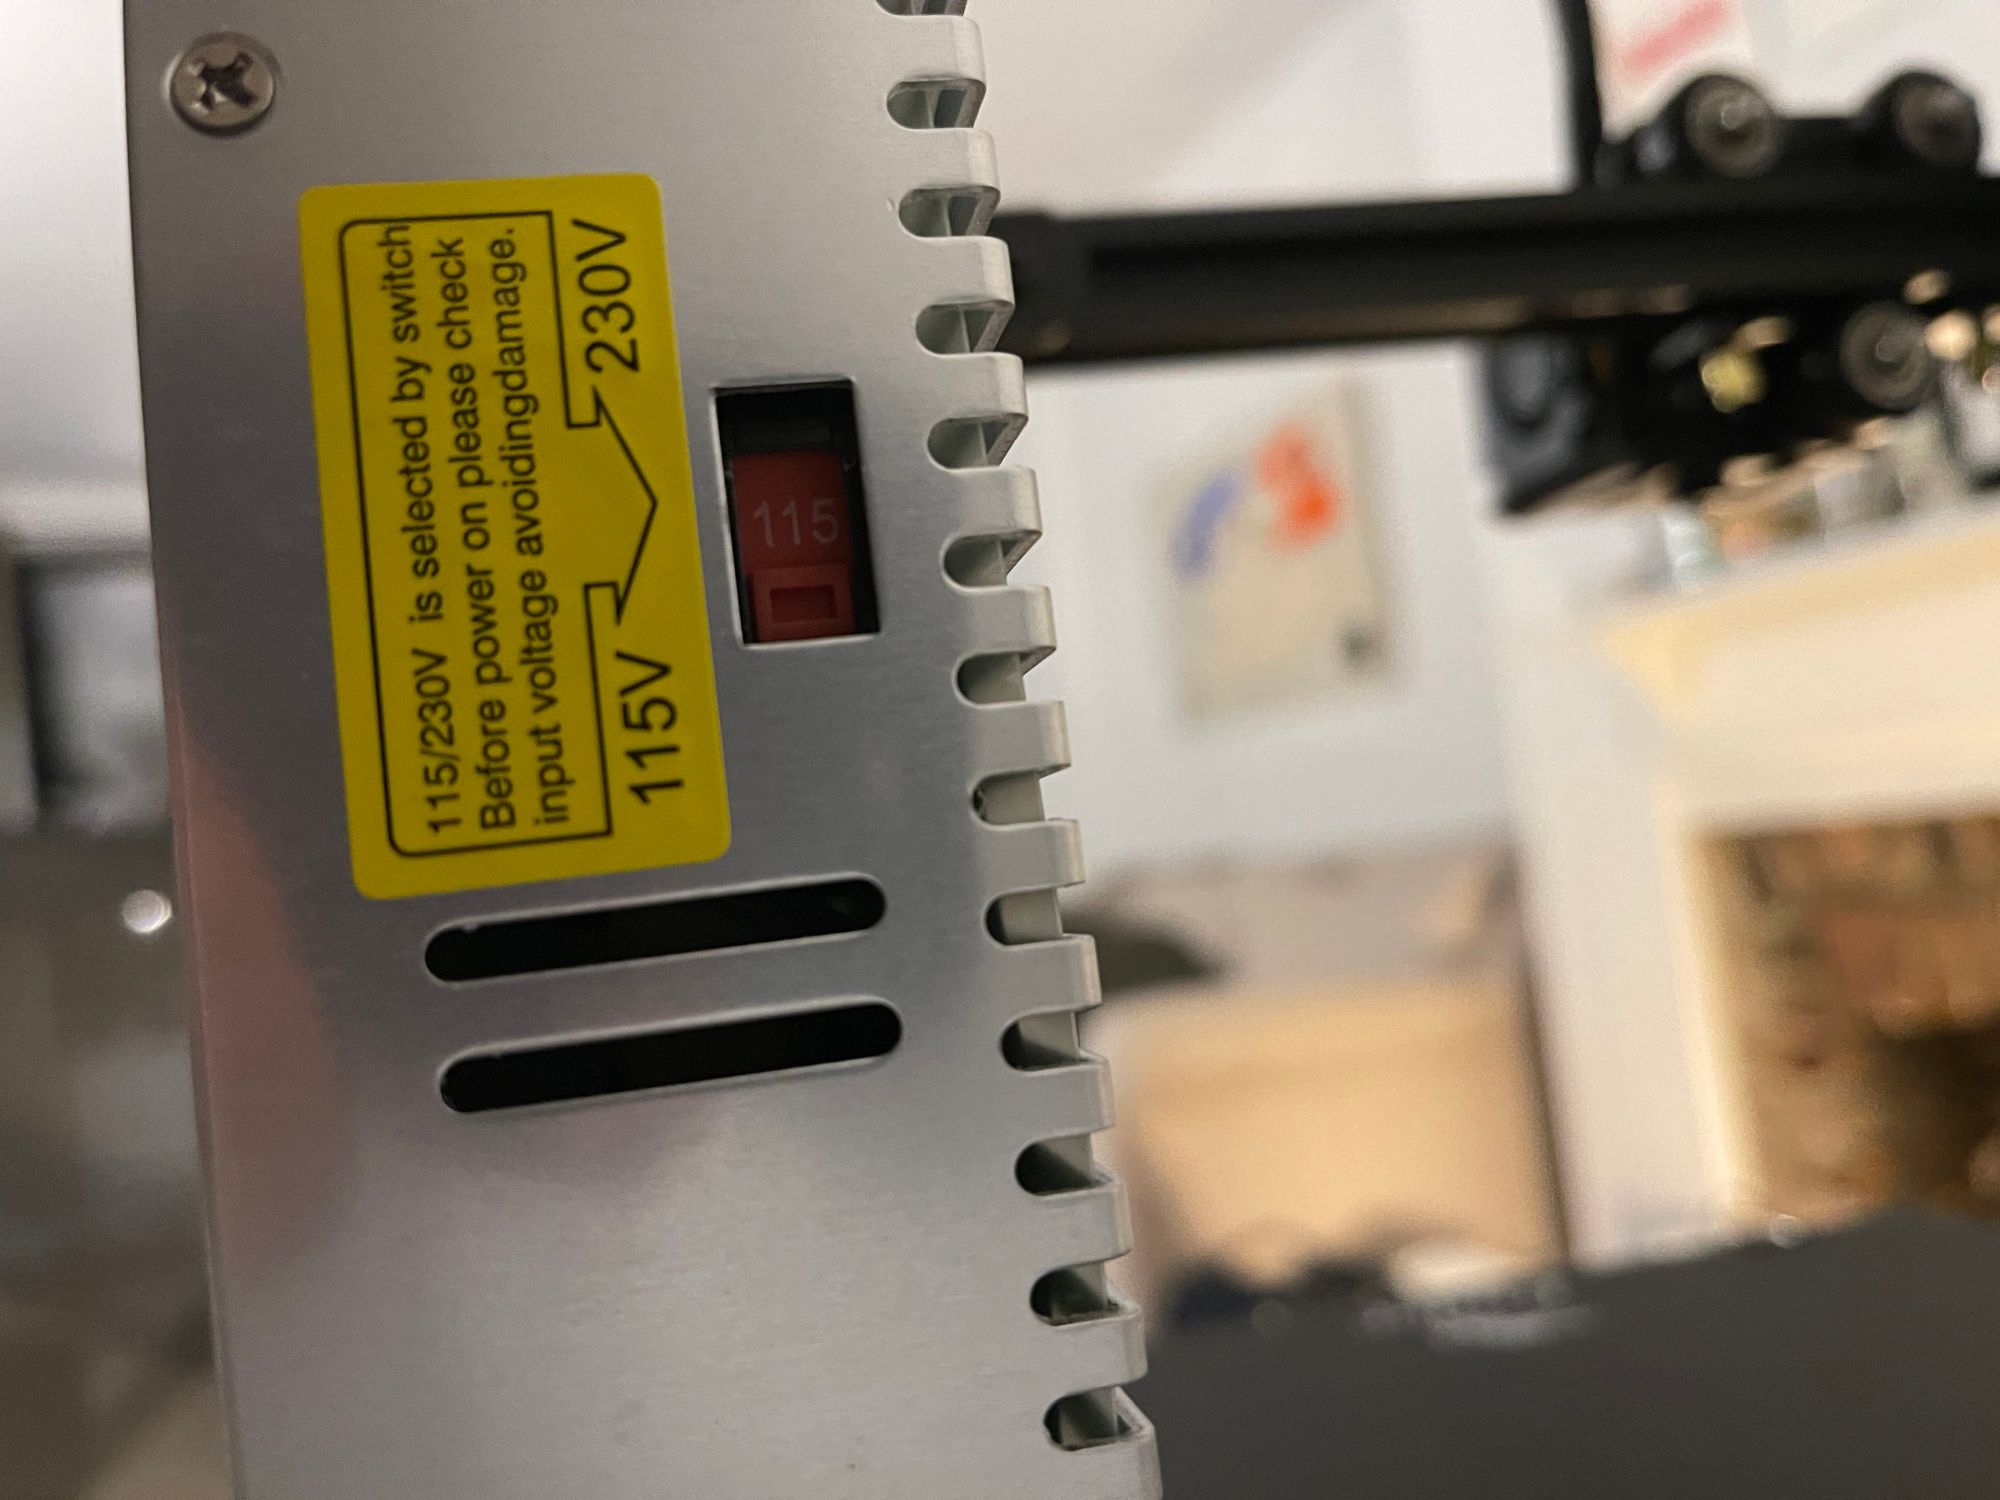
If you’re in the US, MAKE SURE you set the voltage to 115V otherwise you'll fry your printer.
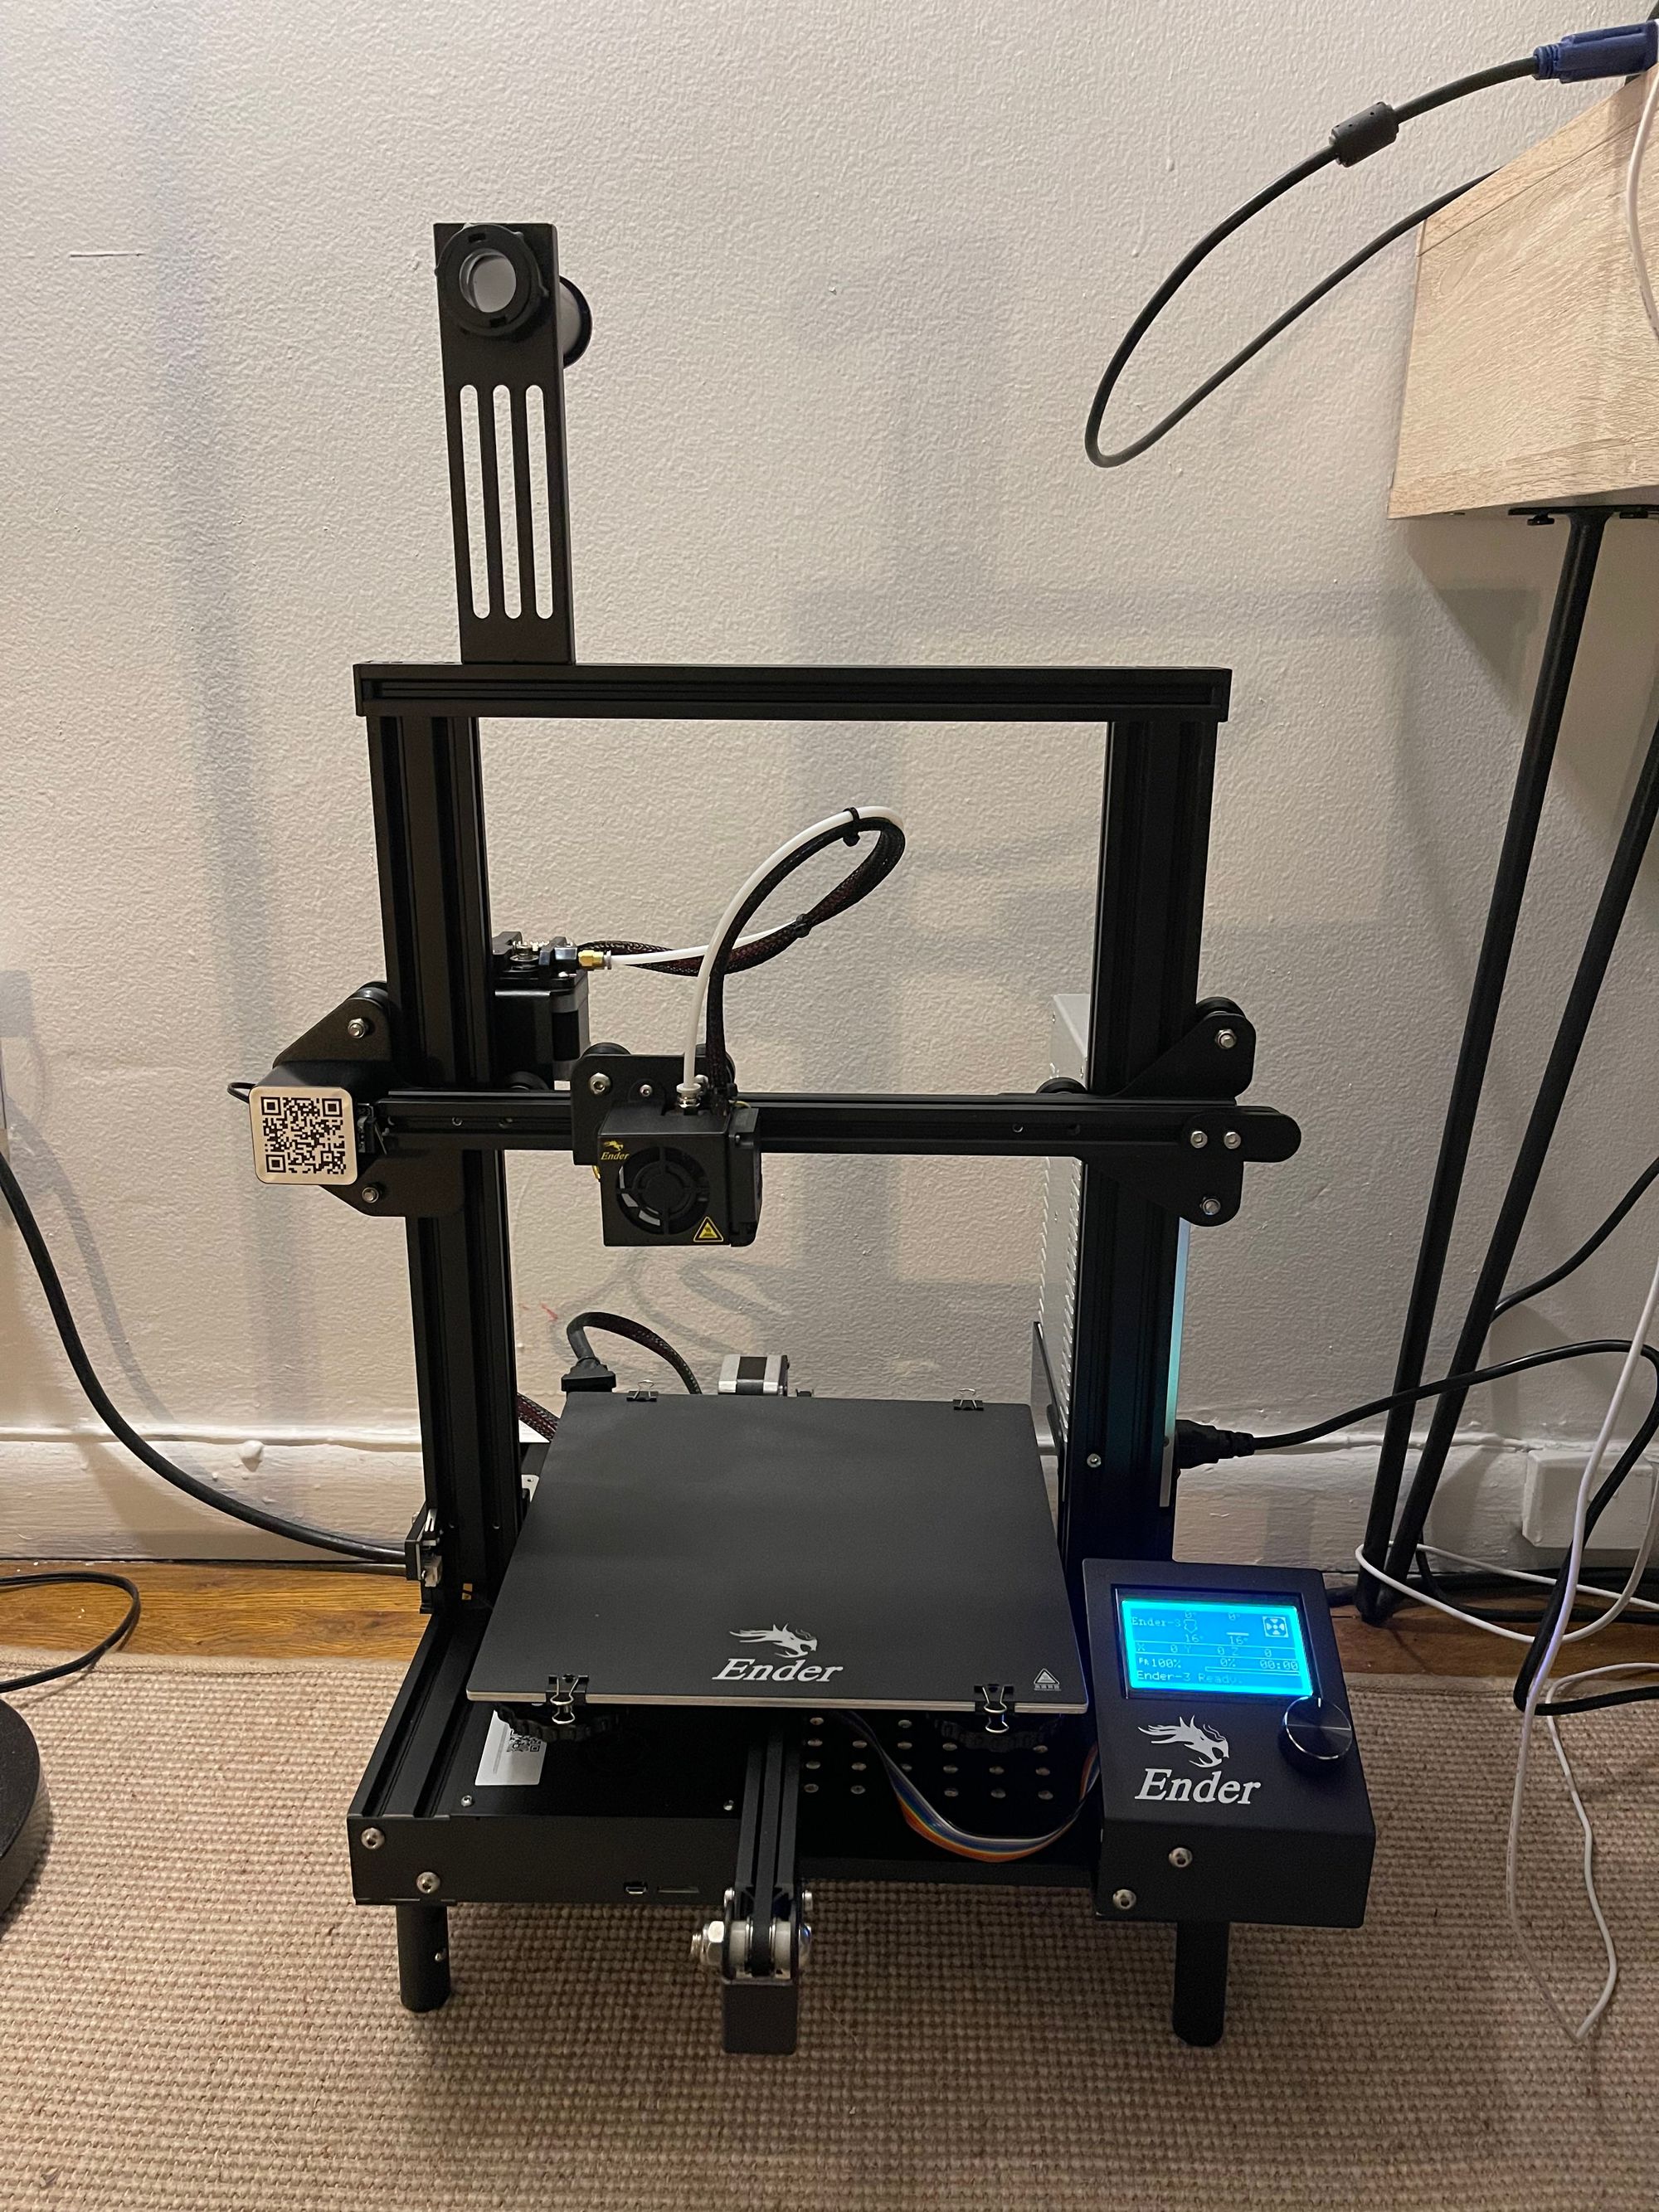
Printing
It’s time to enjoy the fruits of your labor! You can print a limitless amount of things on your printer. All you need is to make the files or downloaded them for free, I’ll cover this later.
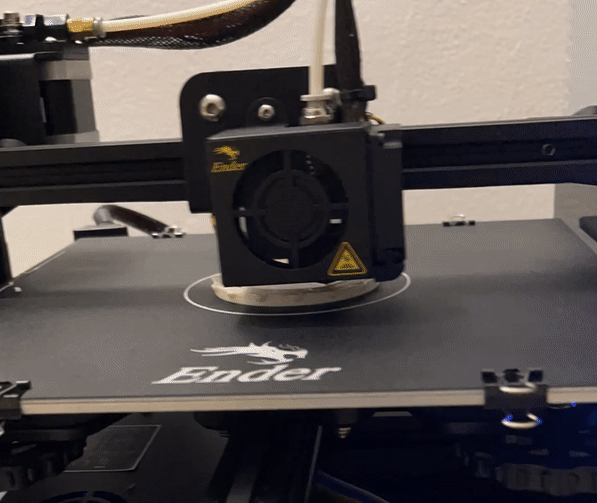
Before printing anything there are a few steps. The first and most important step is leveling the bed. This ensures that the surface you’re printing on is level. The scale of 3D printing layers is a fraction of a millimeter. It’s important to get this right. Some tools do this automatically but we’re doing it with a timeless tool: paper.
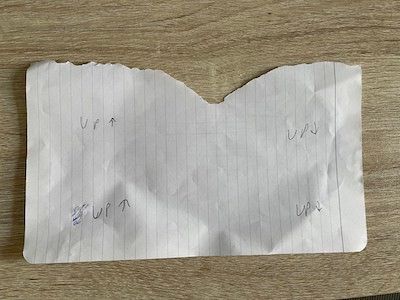
There are four dials that if turned clockwise move the bed closer to the nozzle. You want to feel the slightest resistance from the nozzle when running the paper underneath. You level the printer by having the same paper-width gap at the four corners of the bed.
Once done you load the plastic filament and tap a button to heat the bed and nozzle. A 3D printer is basically a hot glue gun controlled by precise motors. It builds up models layer by layer by printing cross-sections of the object. The nozzle needs to be hot so that it can extrude the plastic and the bed needs to be hot so the melted plastic will stick.
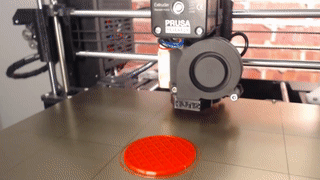
For my first print, I used the default file that comes downloaded on the included sd drive - a dog. This took ~2 hours and used ~40g of (PLA) plastic.
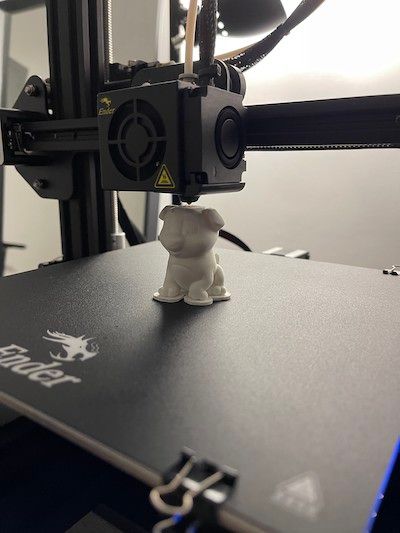
Layer by layer the printer adds plastic in a precise motion to create the model. It takes forever but is mesmerizing to watch. The nice part is that you set the printer to work, and you can let it do its thing in the background. The sounds it makes are….interesting. But before you know it, your print is ready and you have a new part/item!
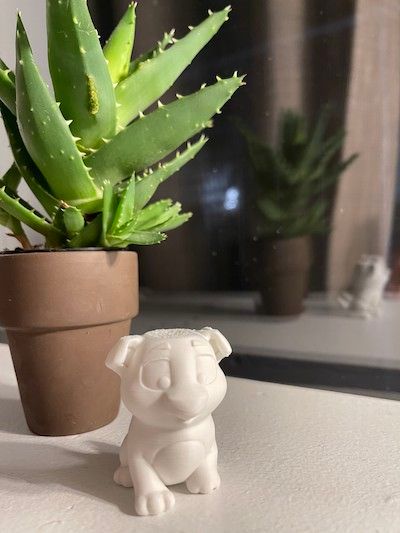
Here are some things I’ve made:
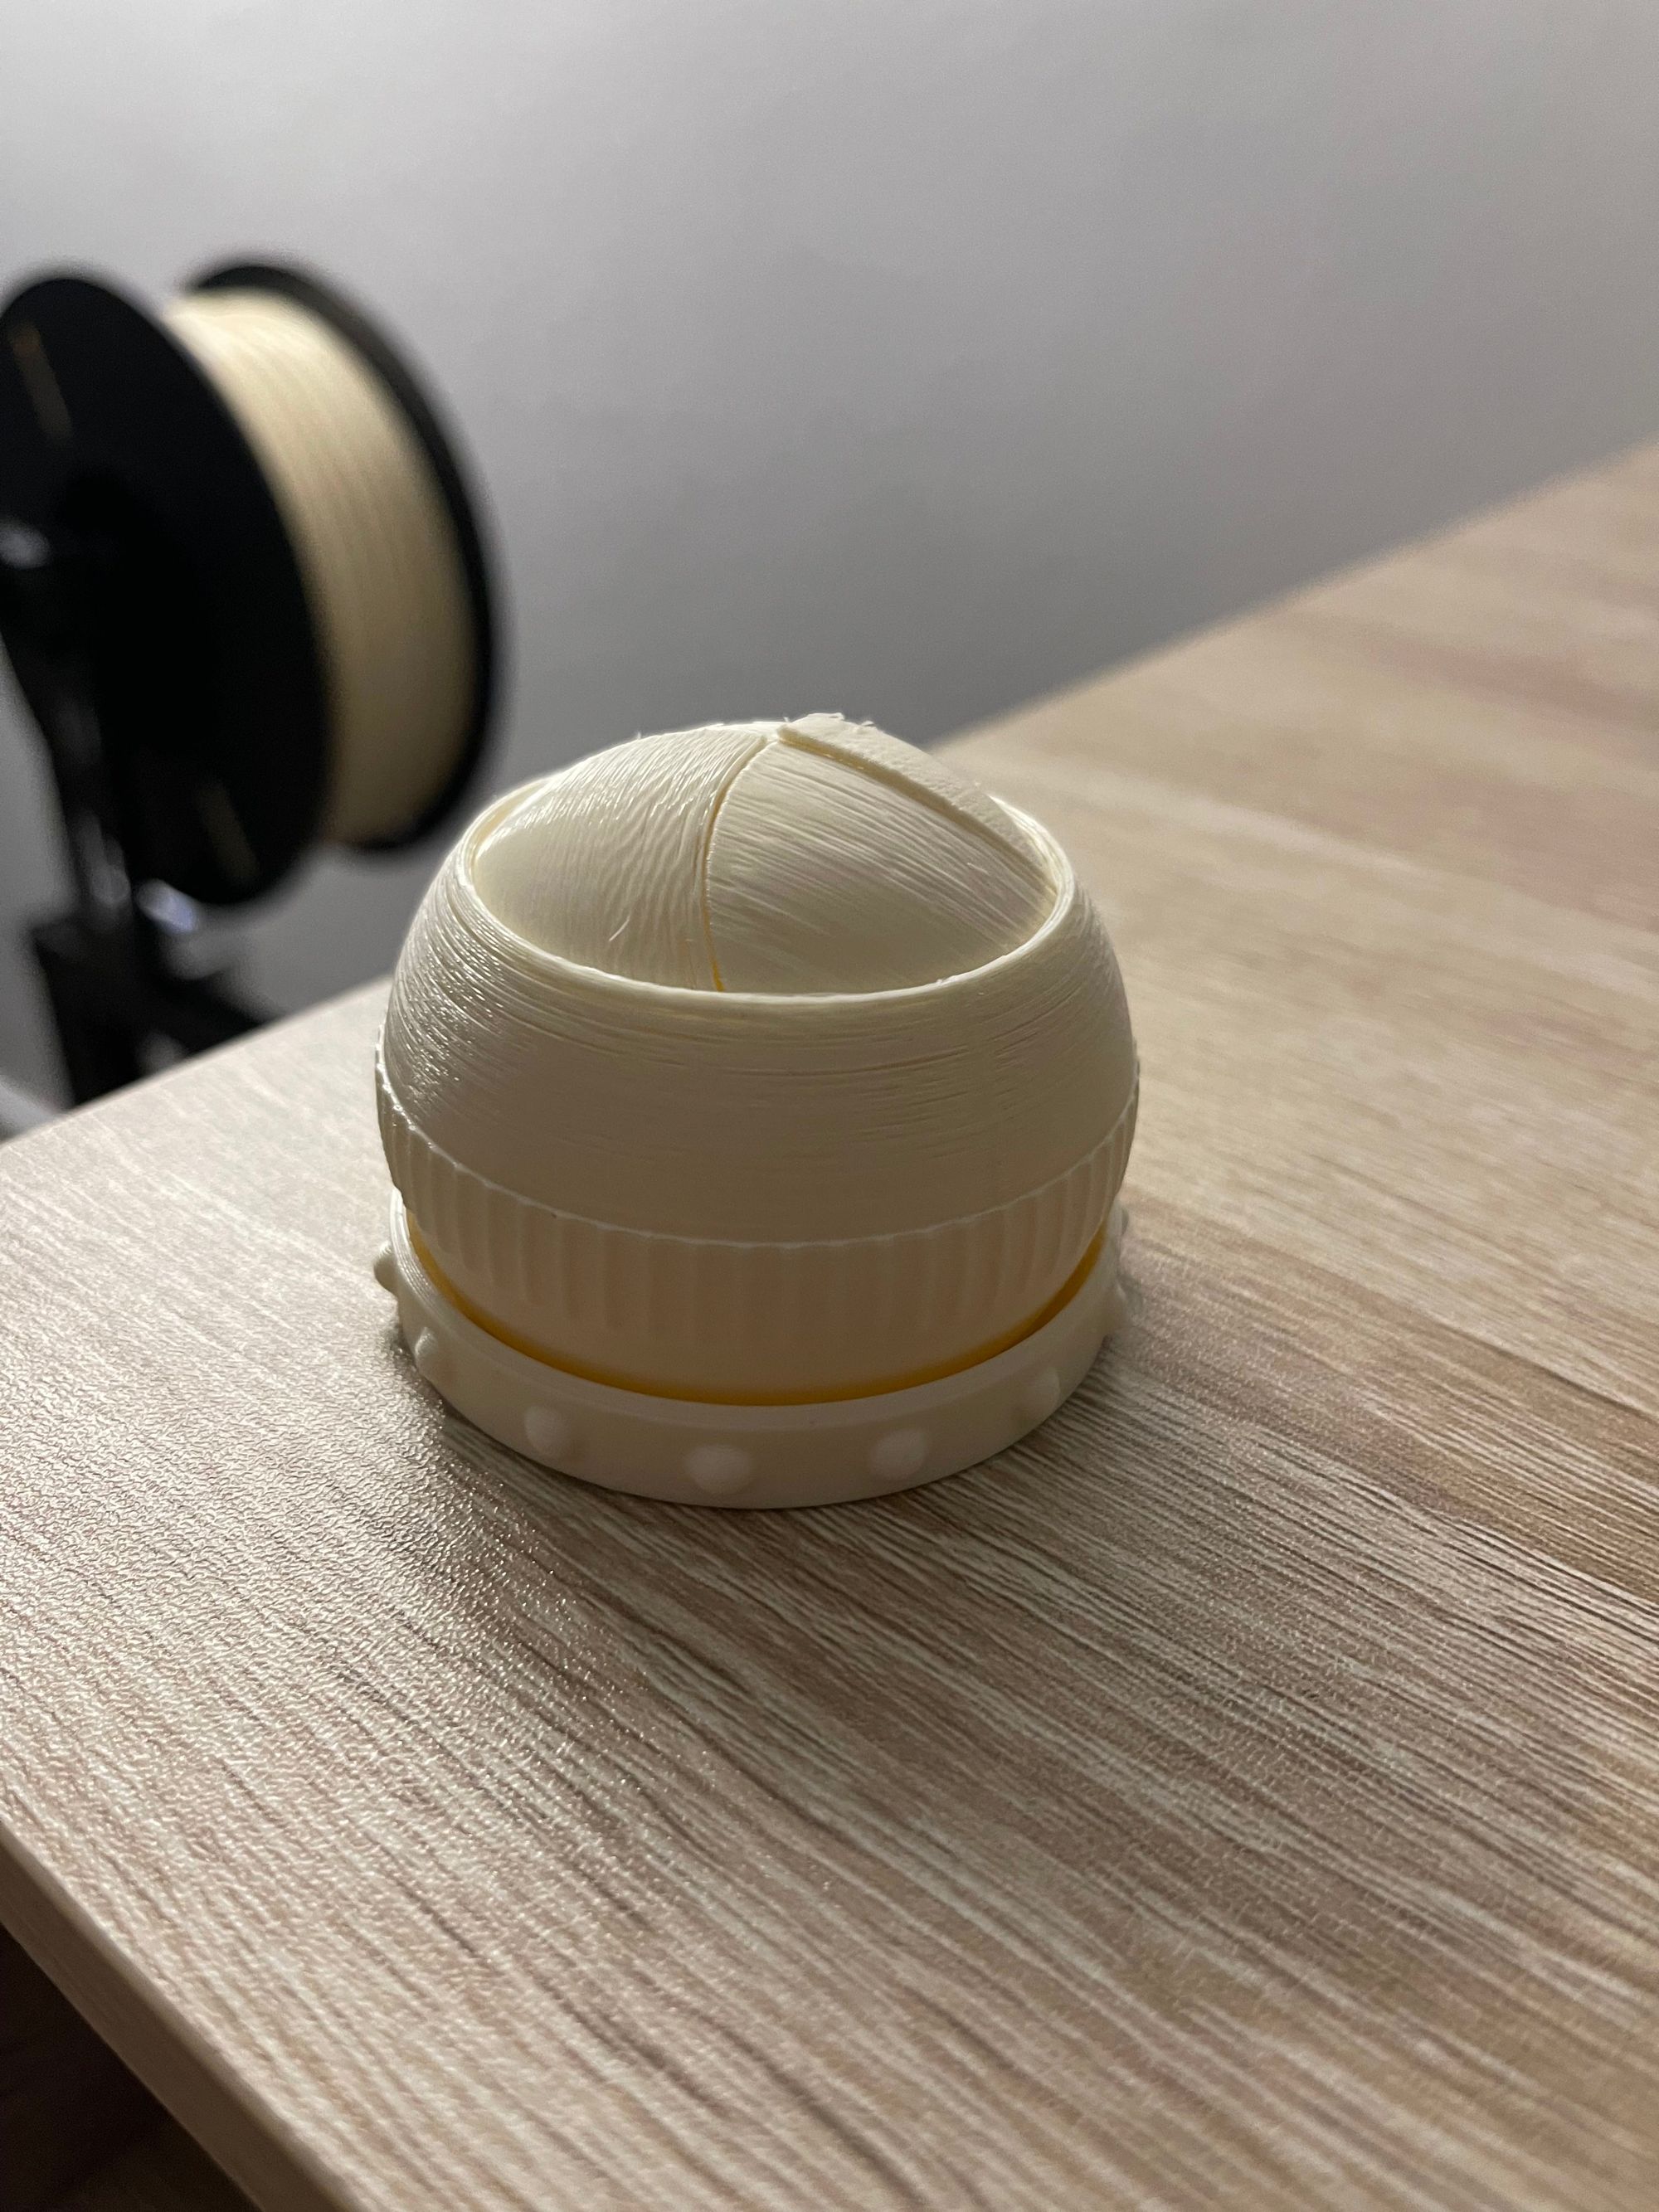
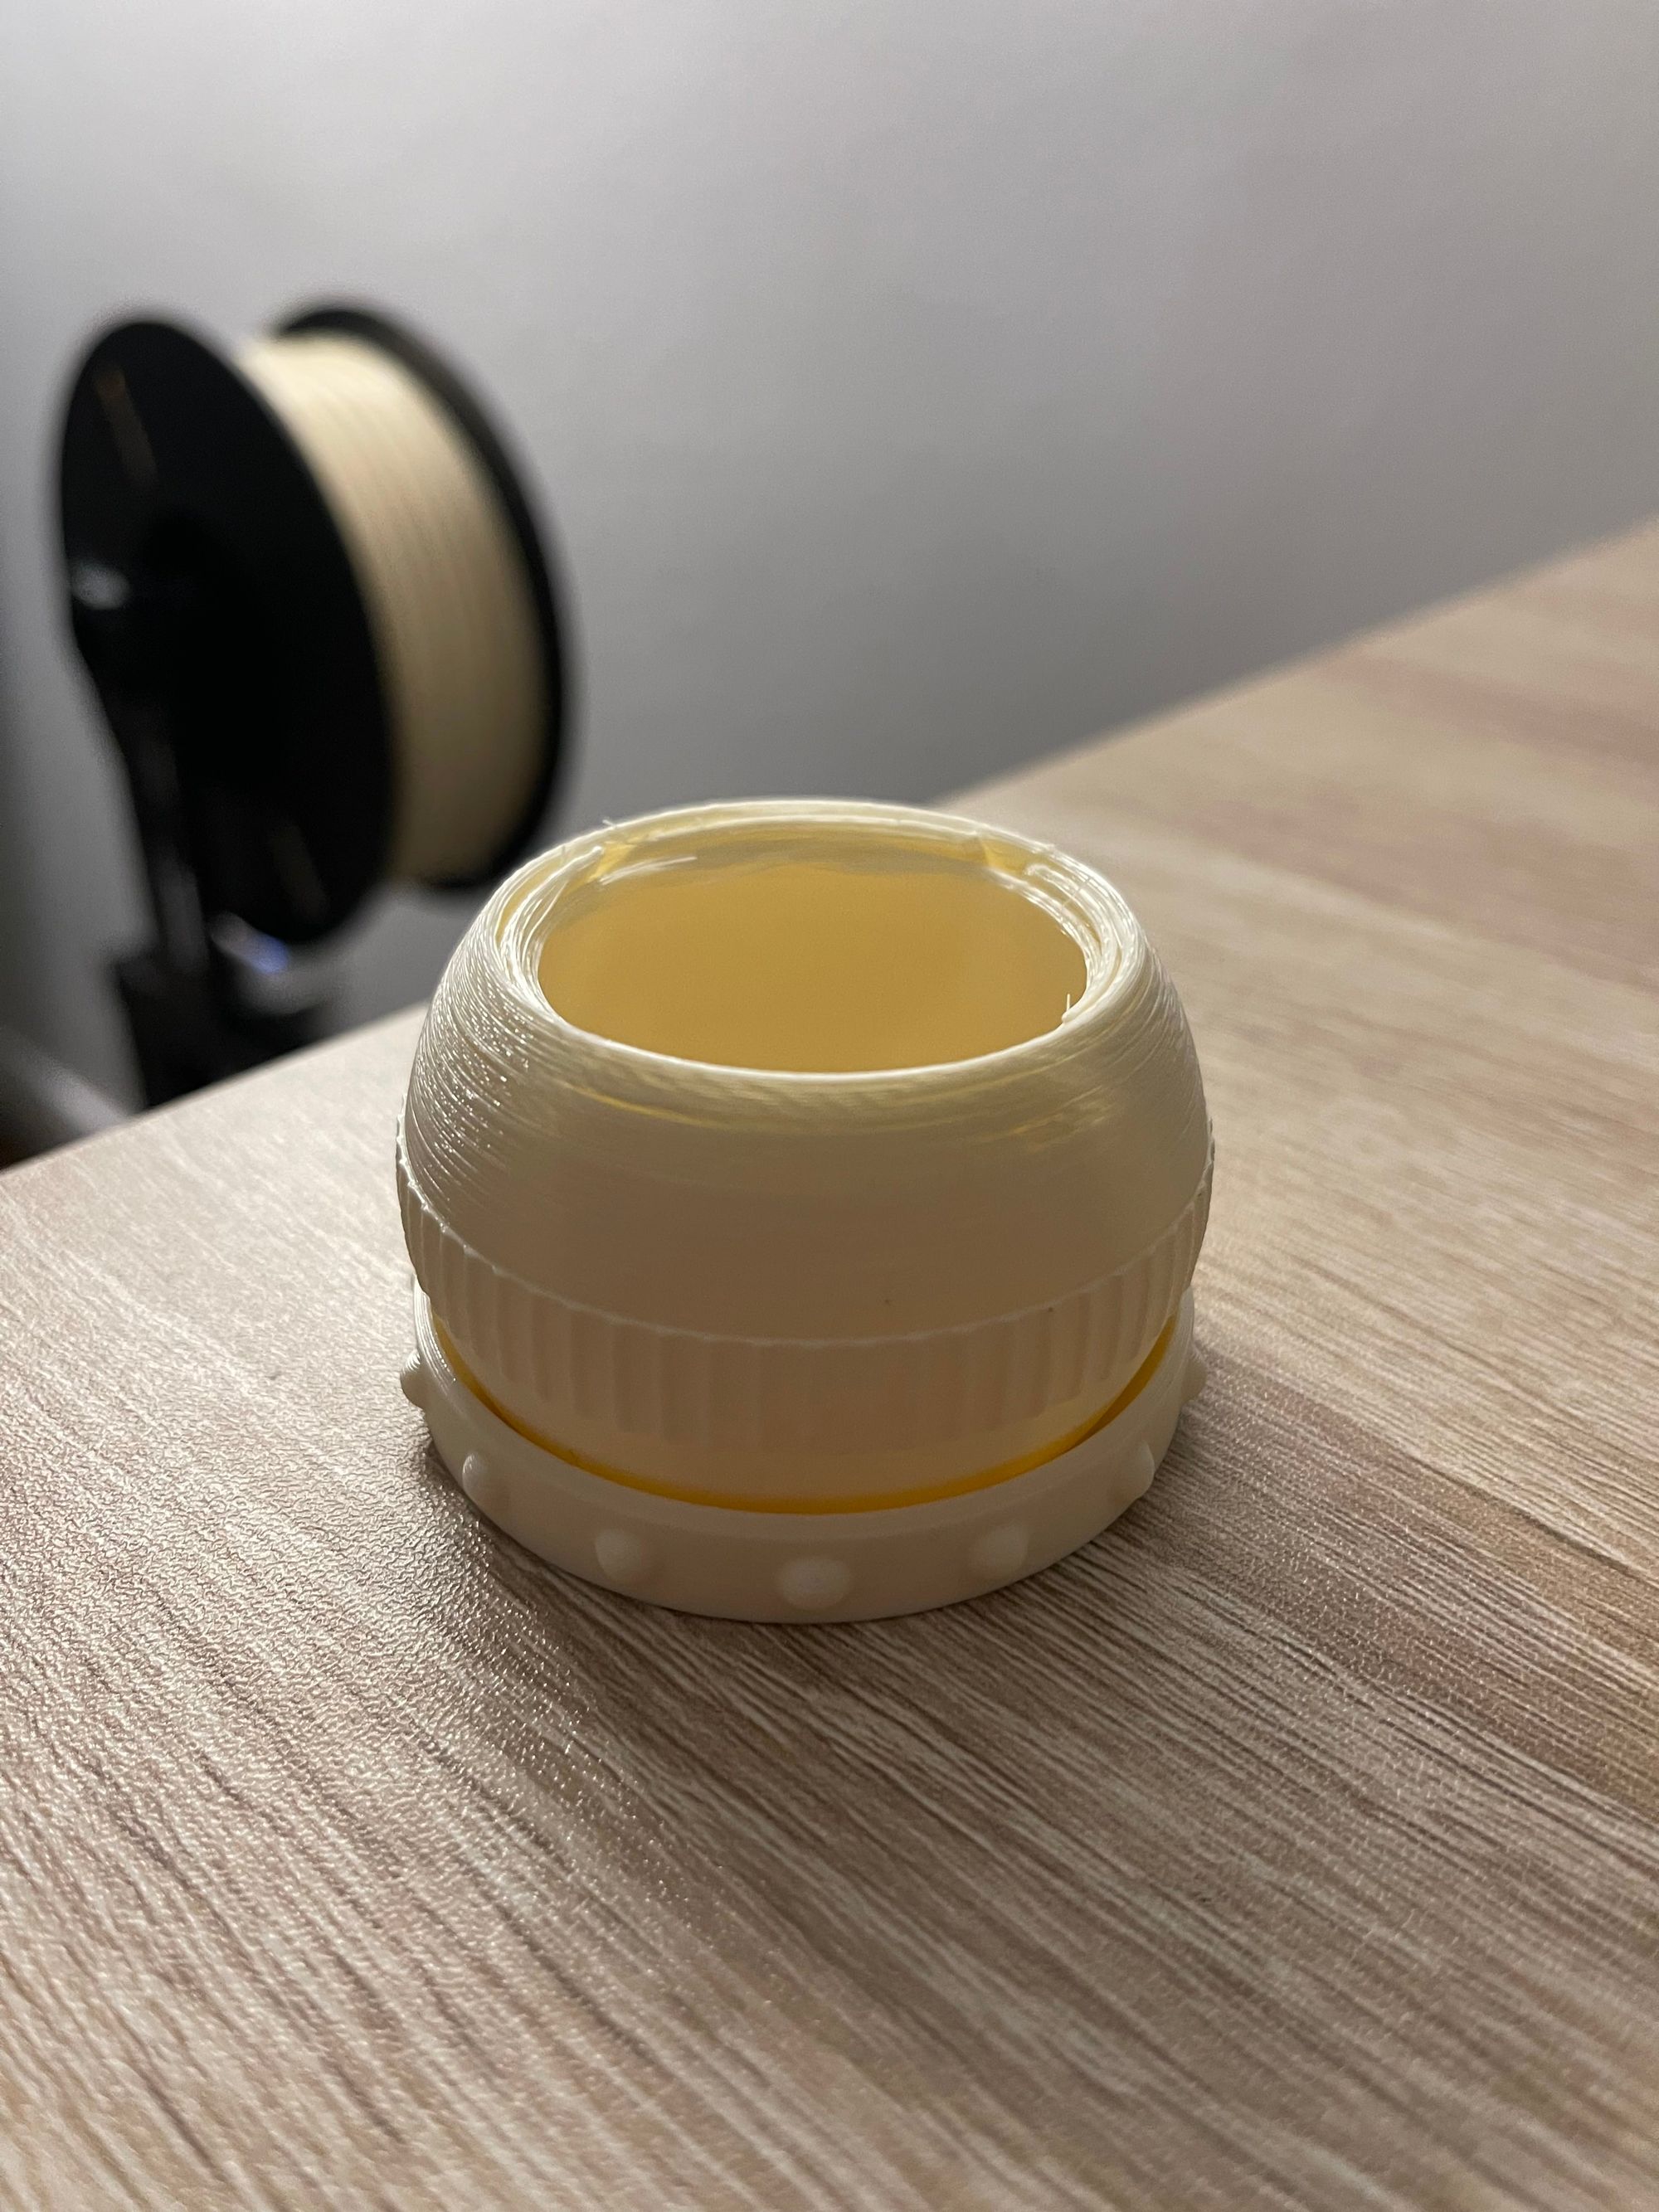
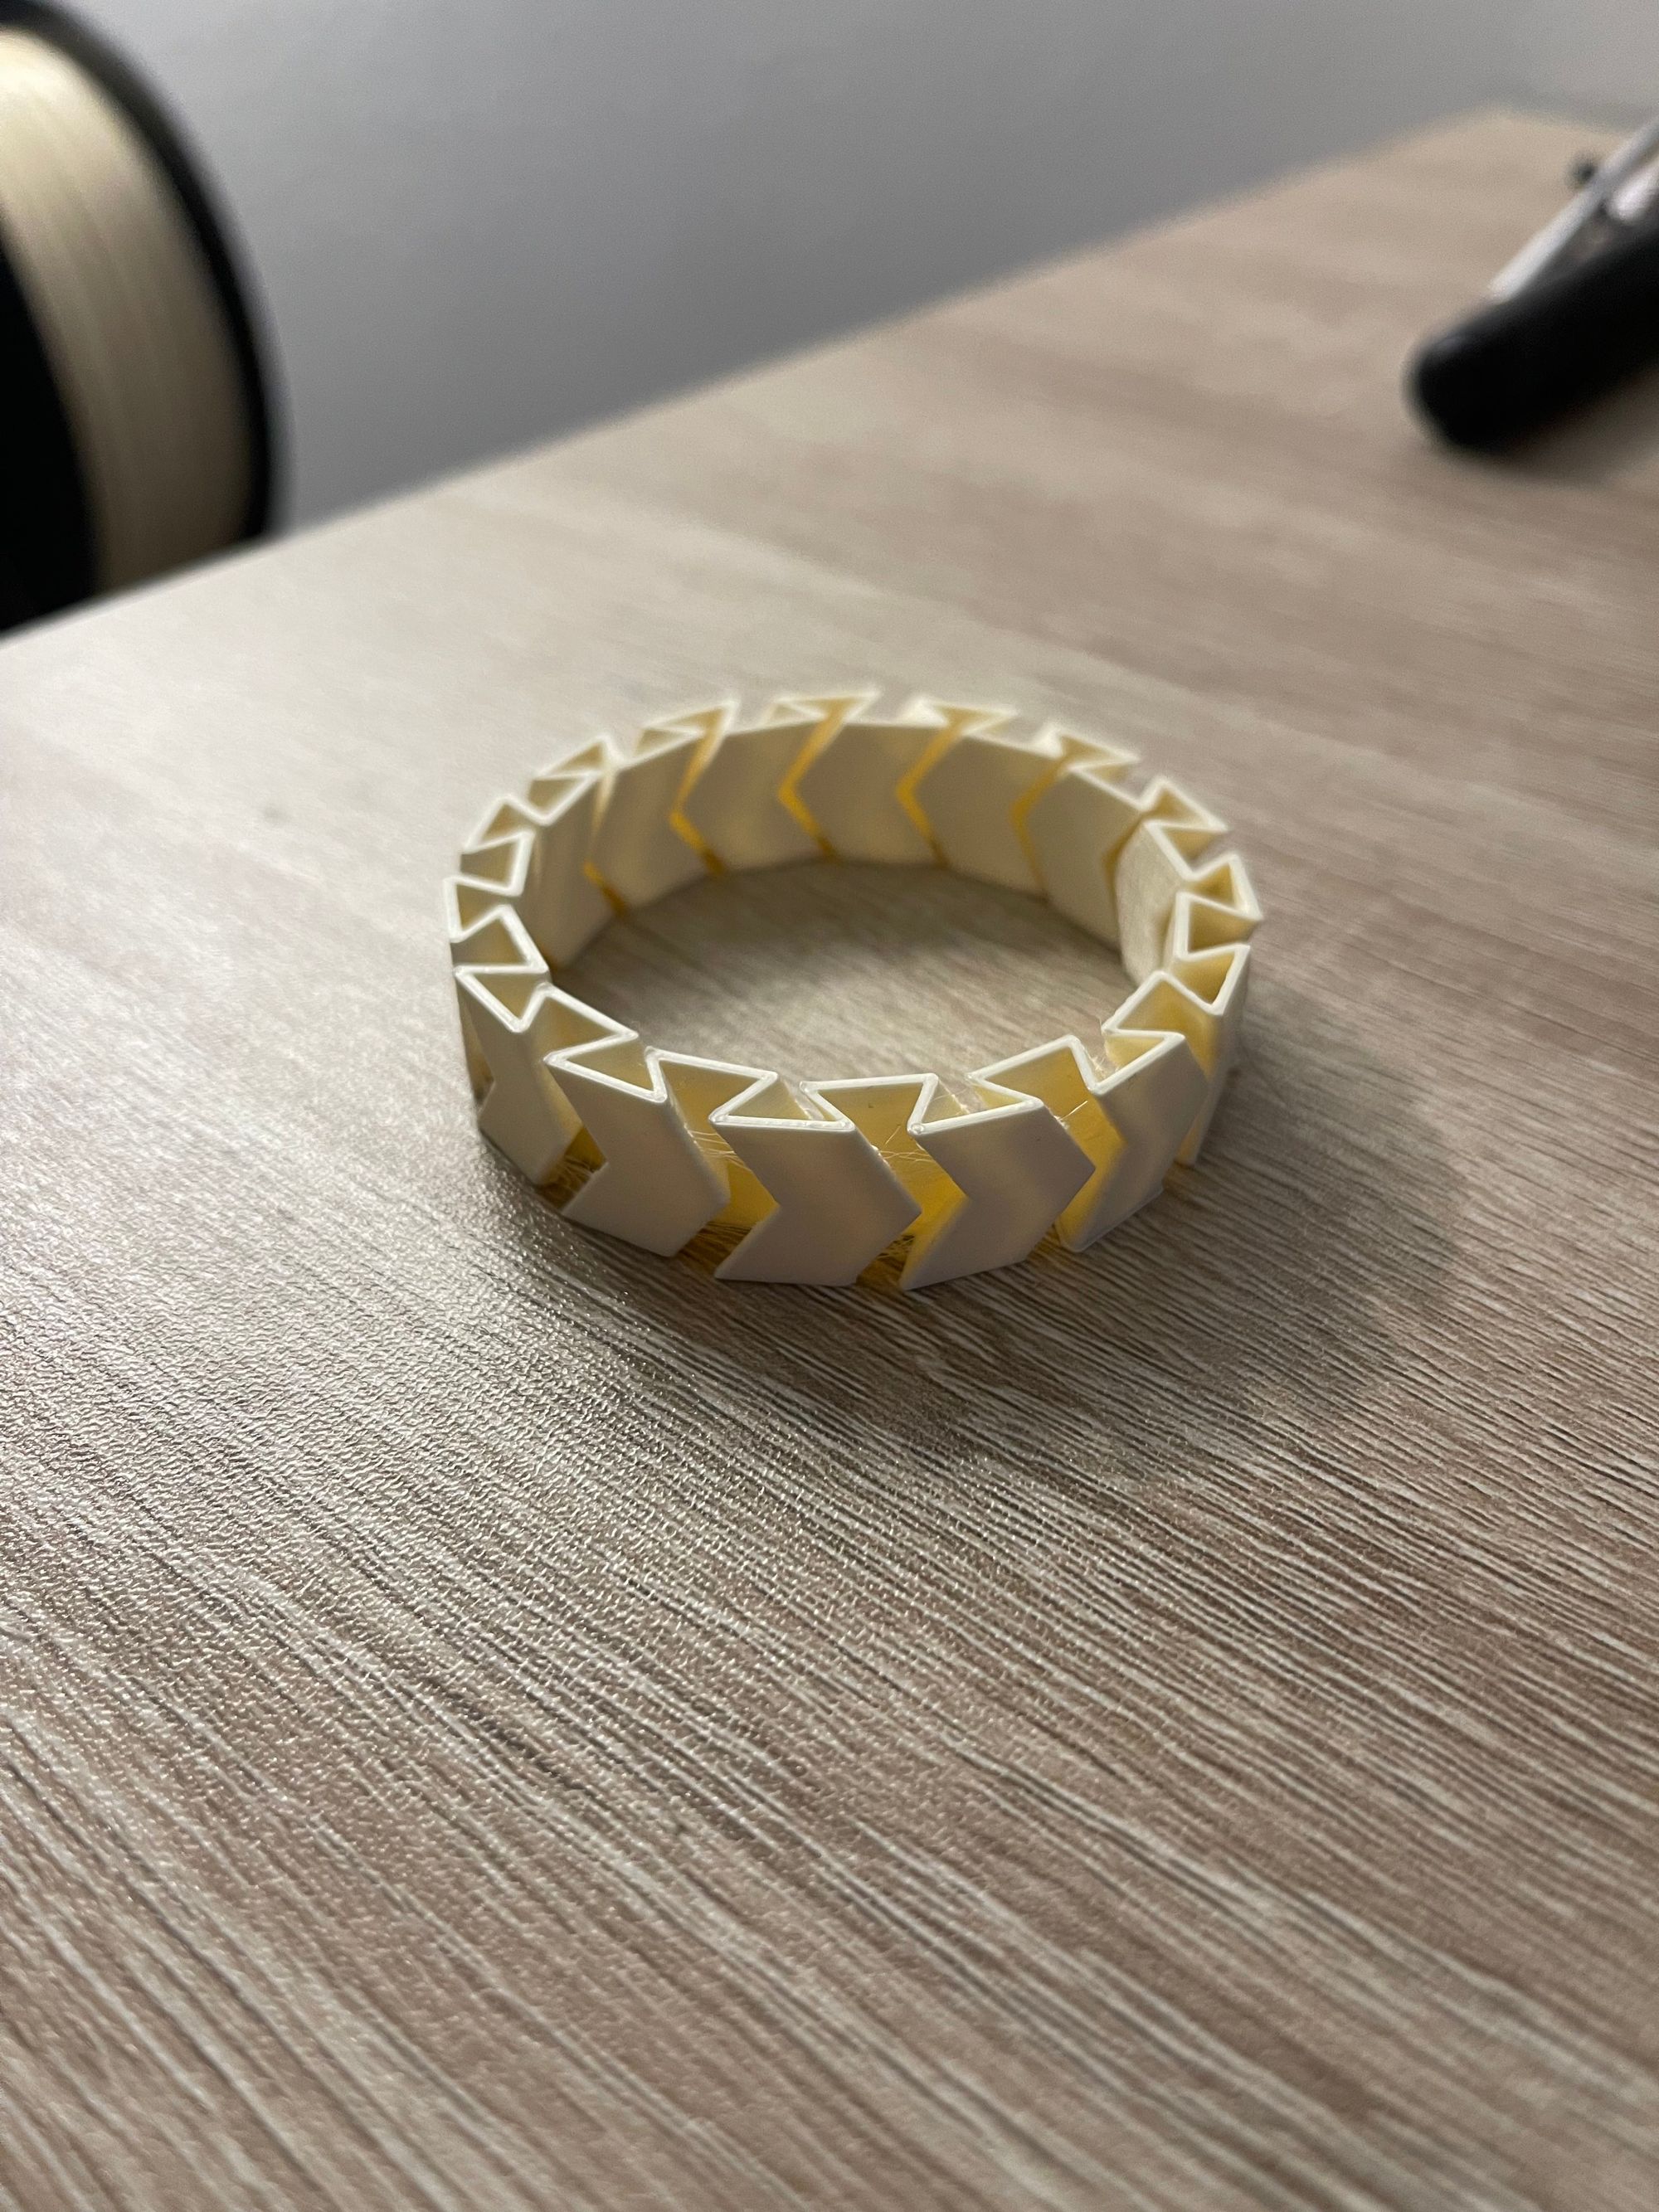
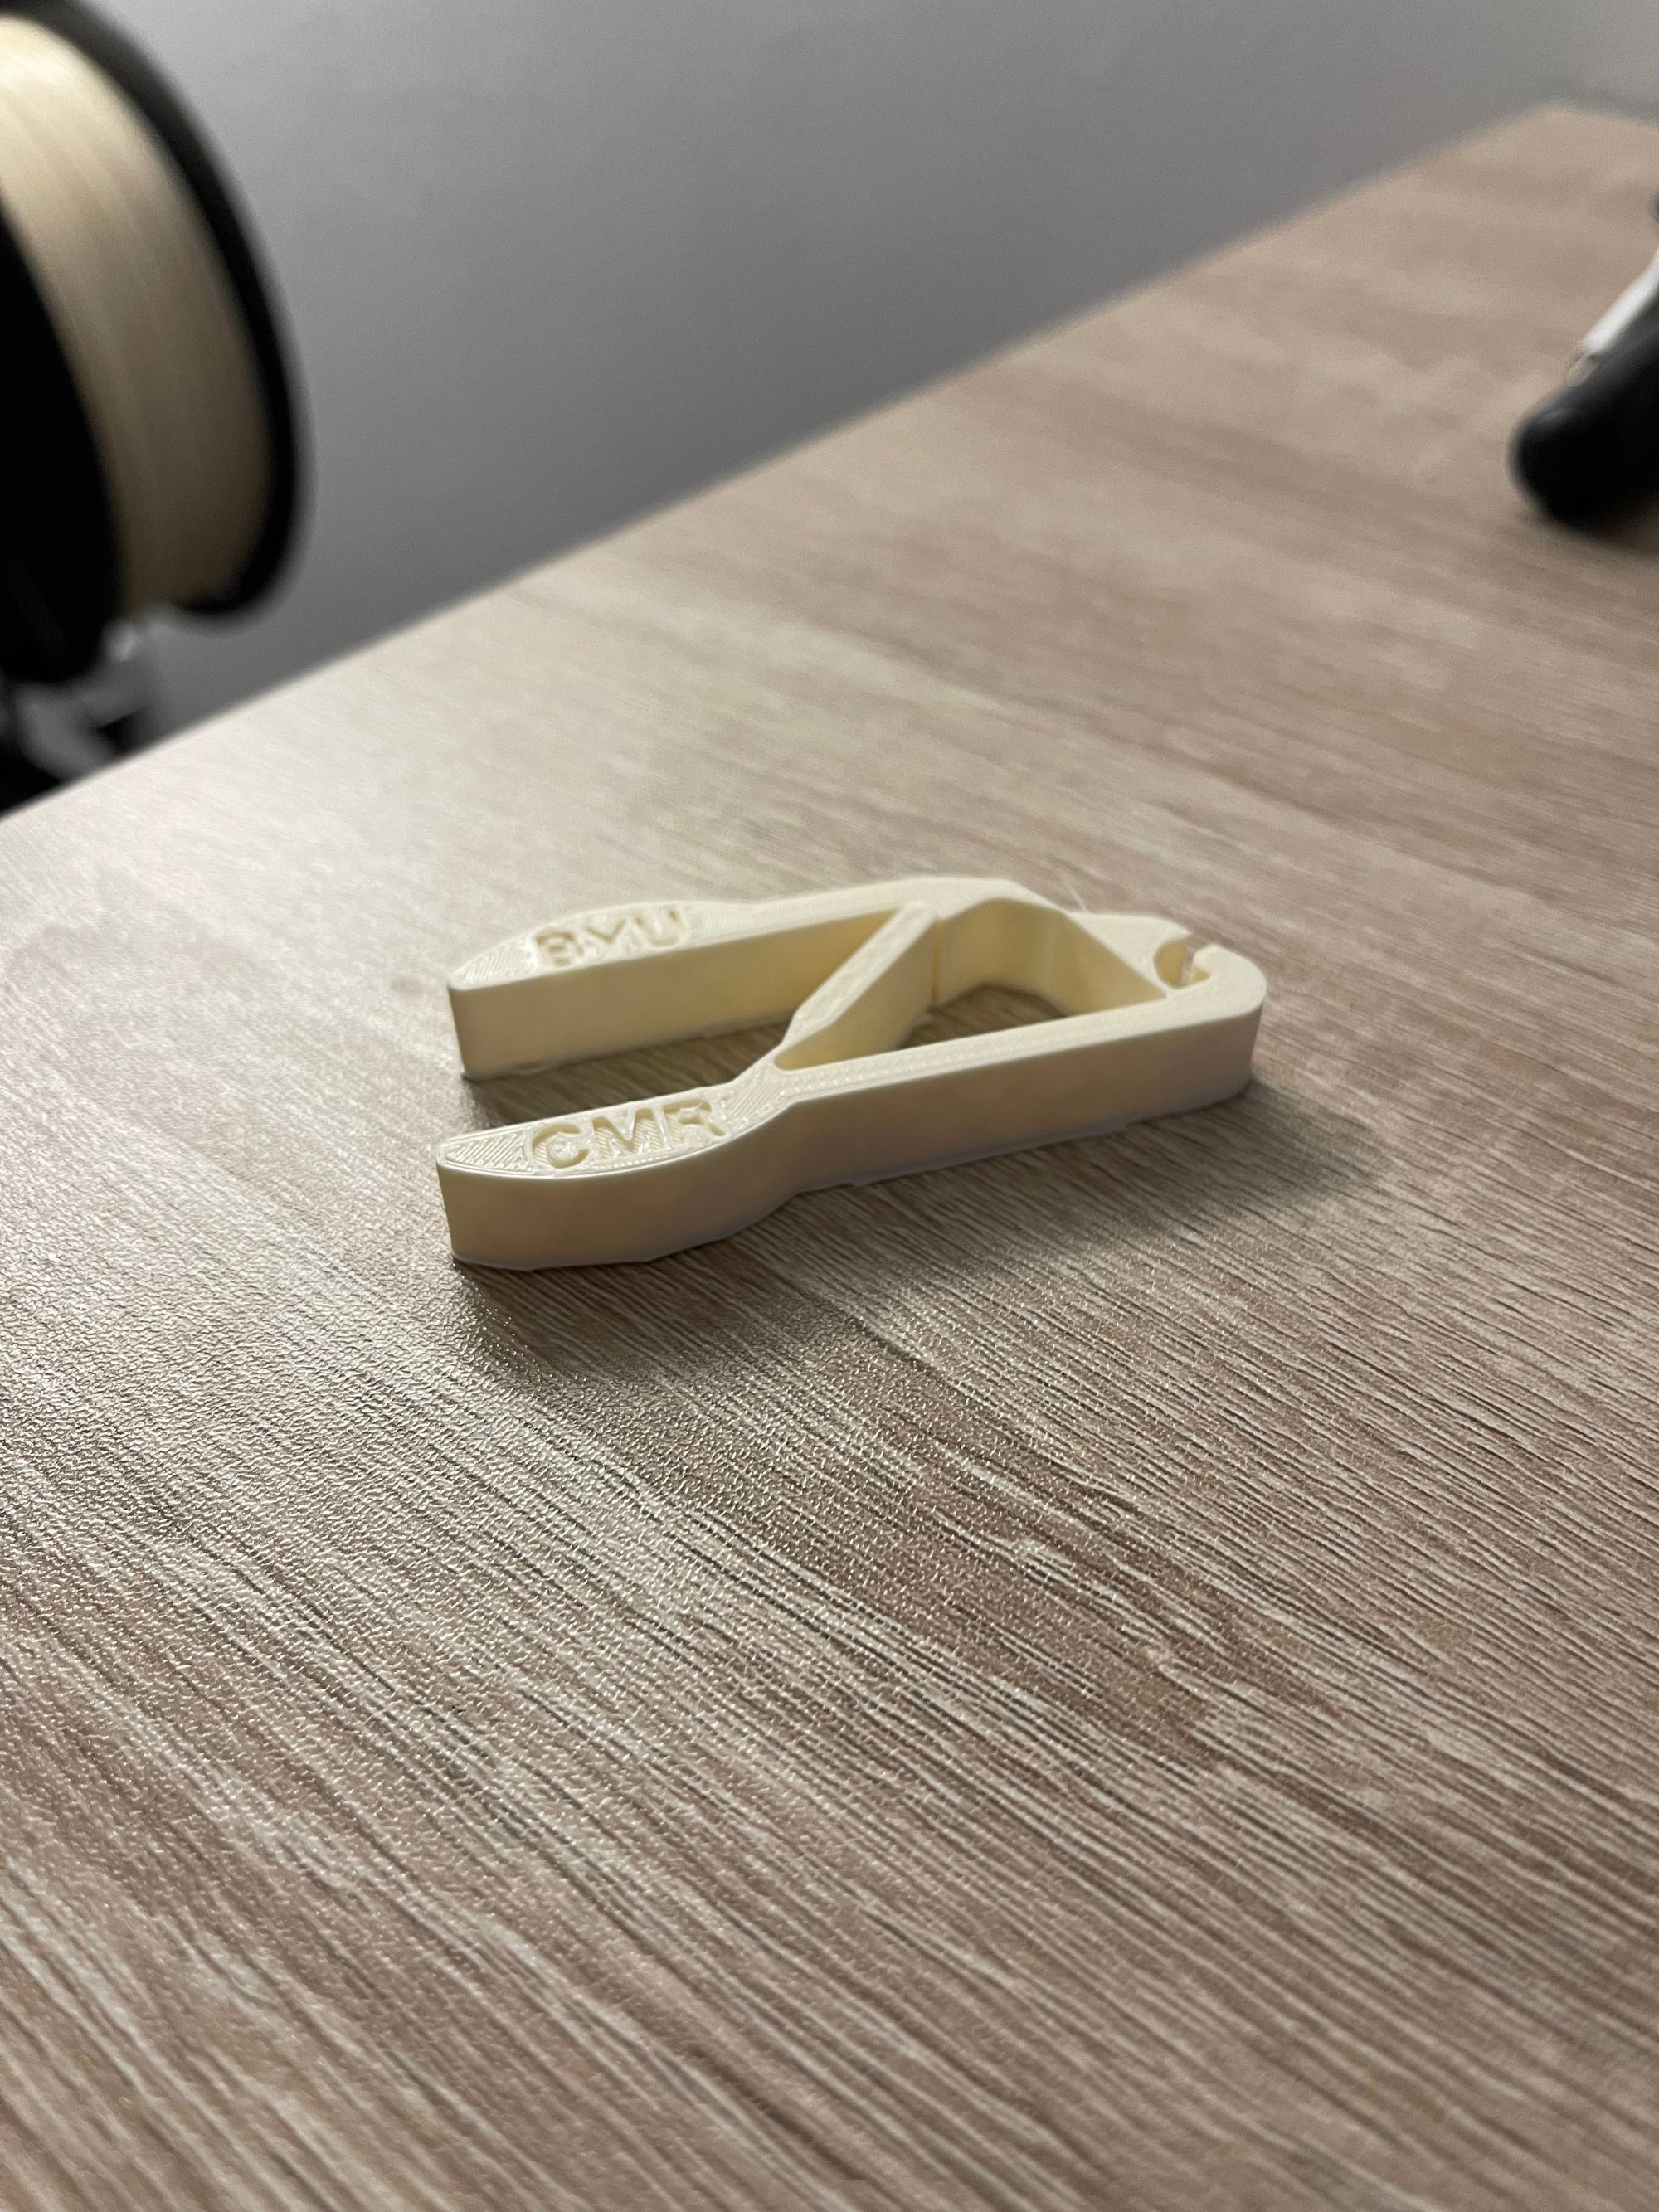
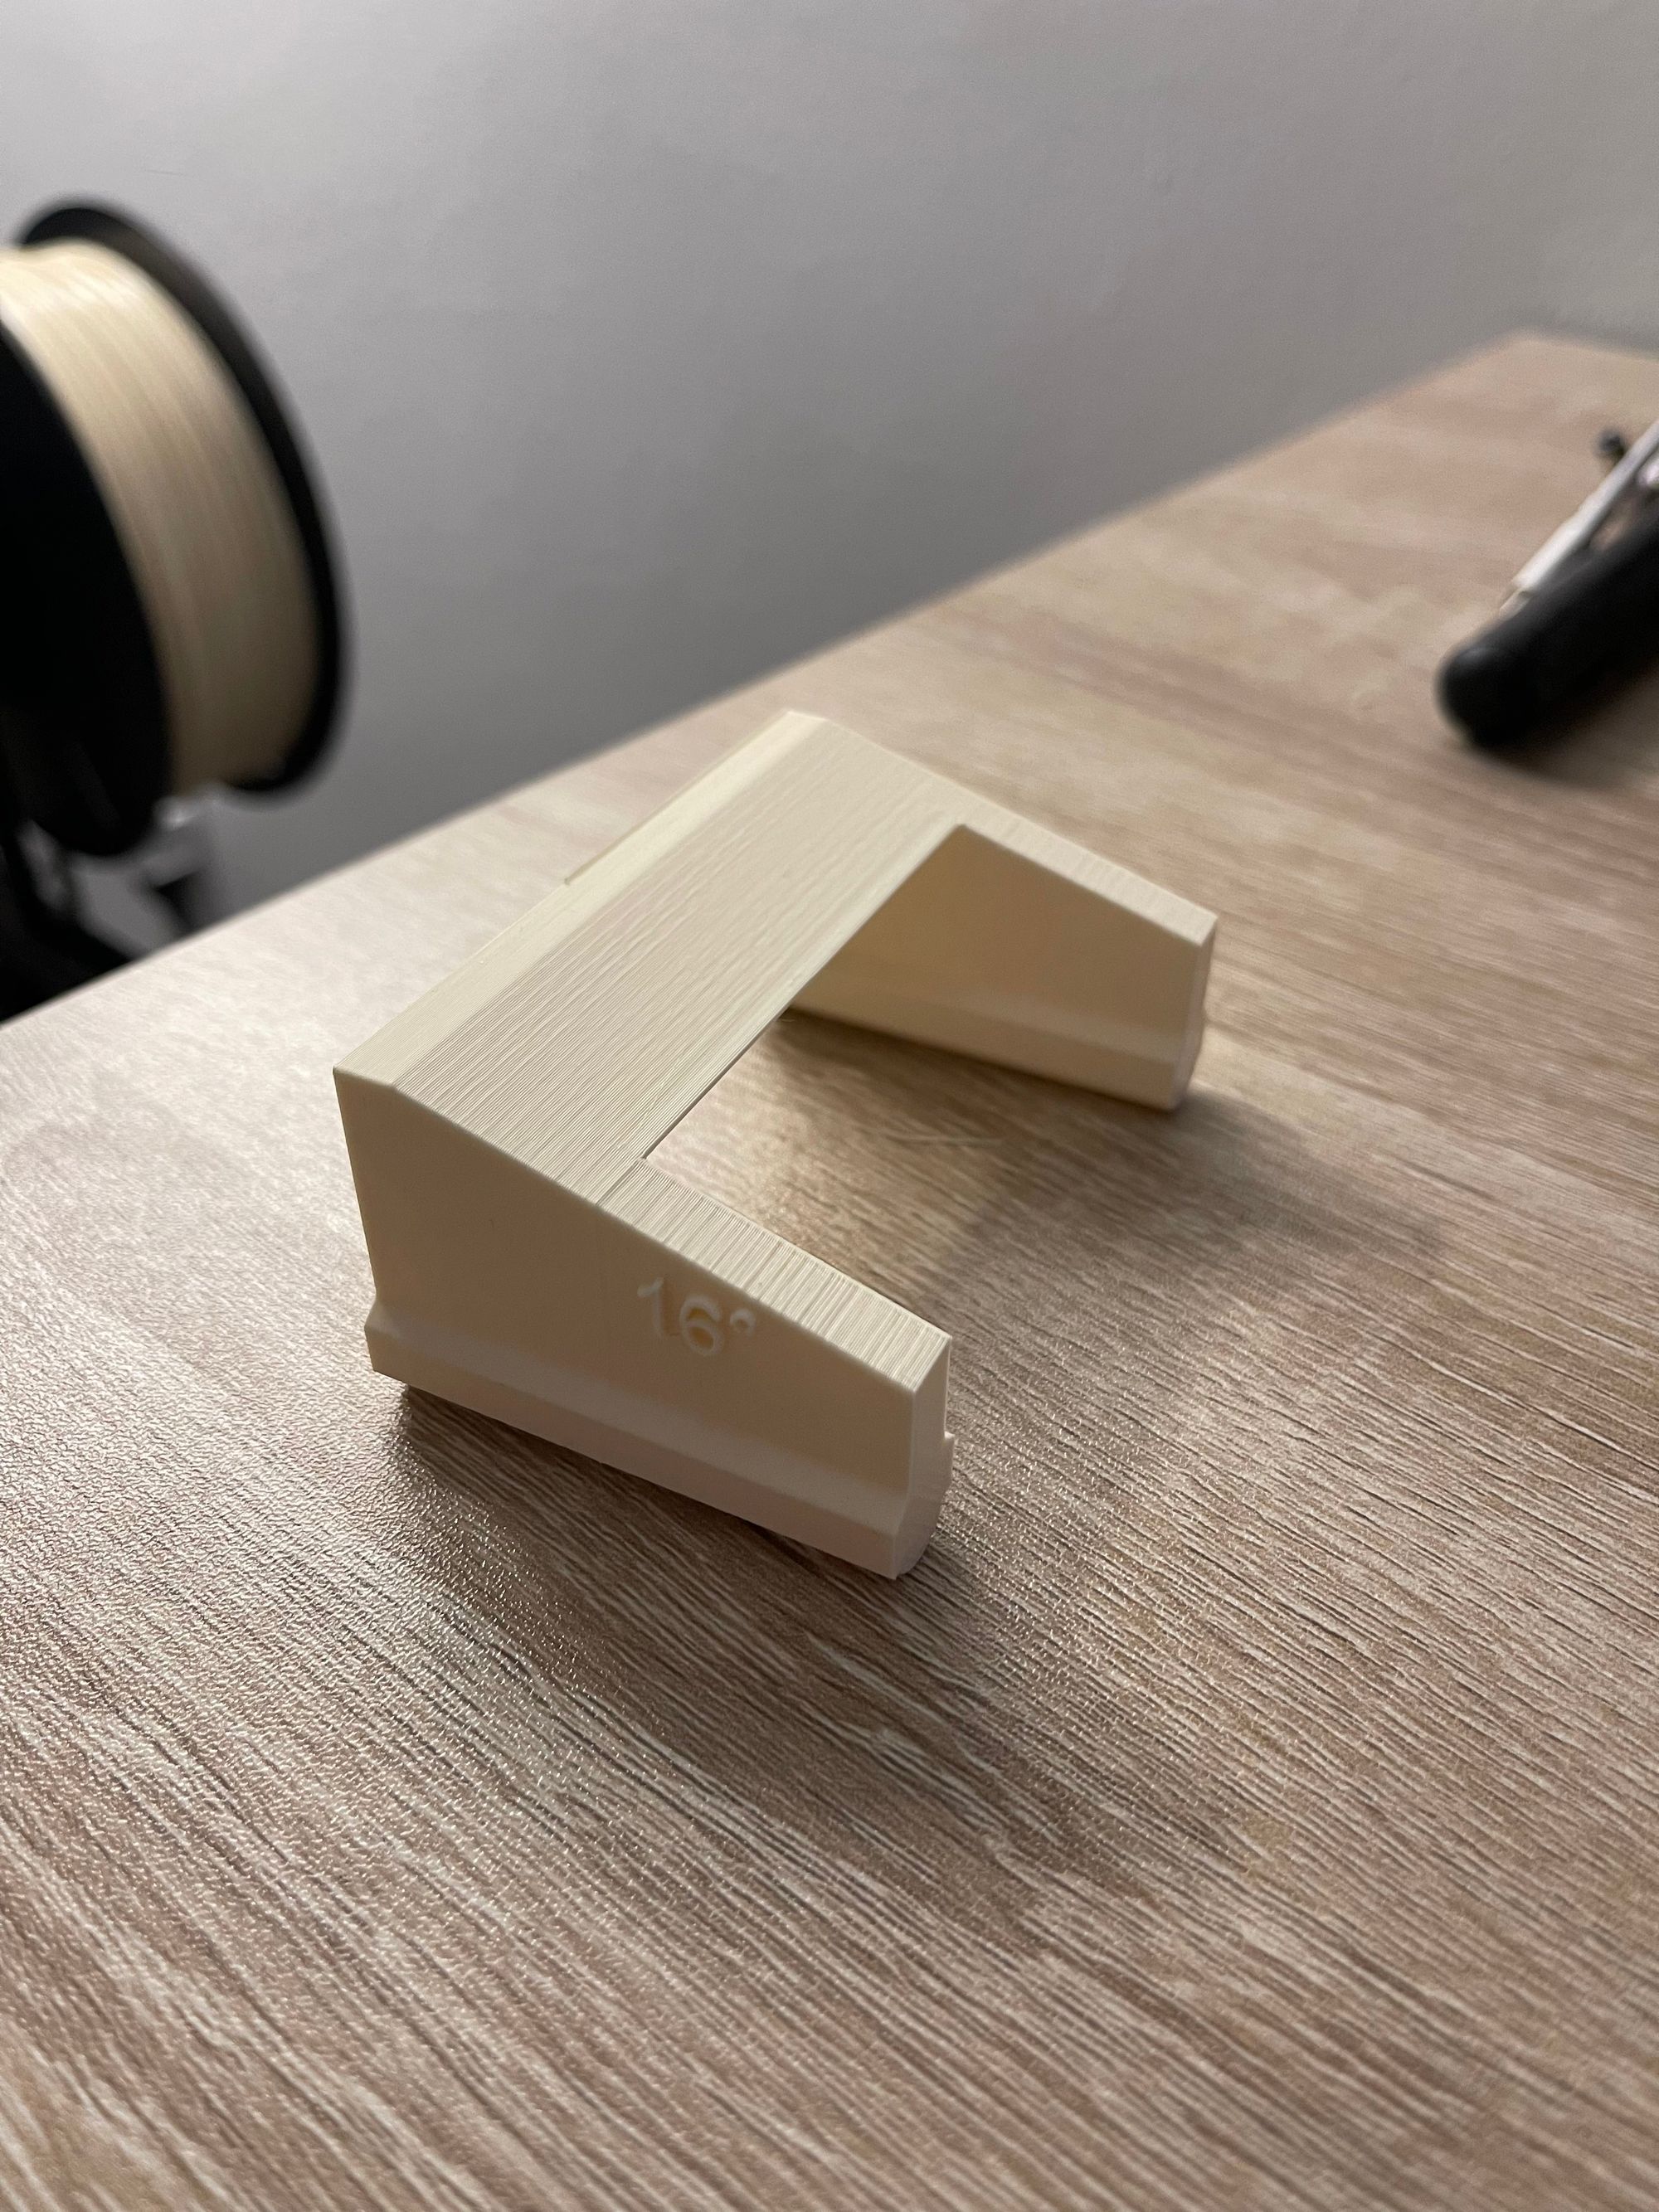
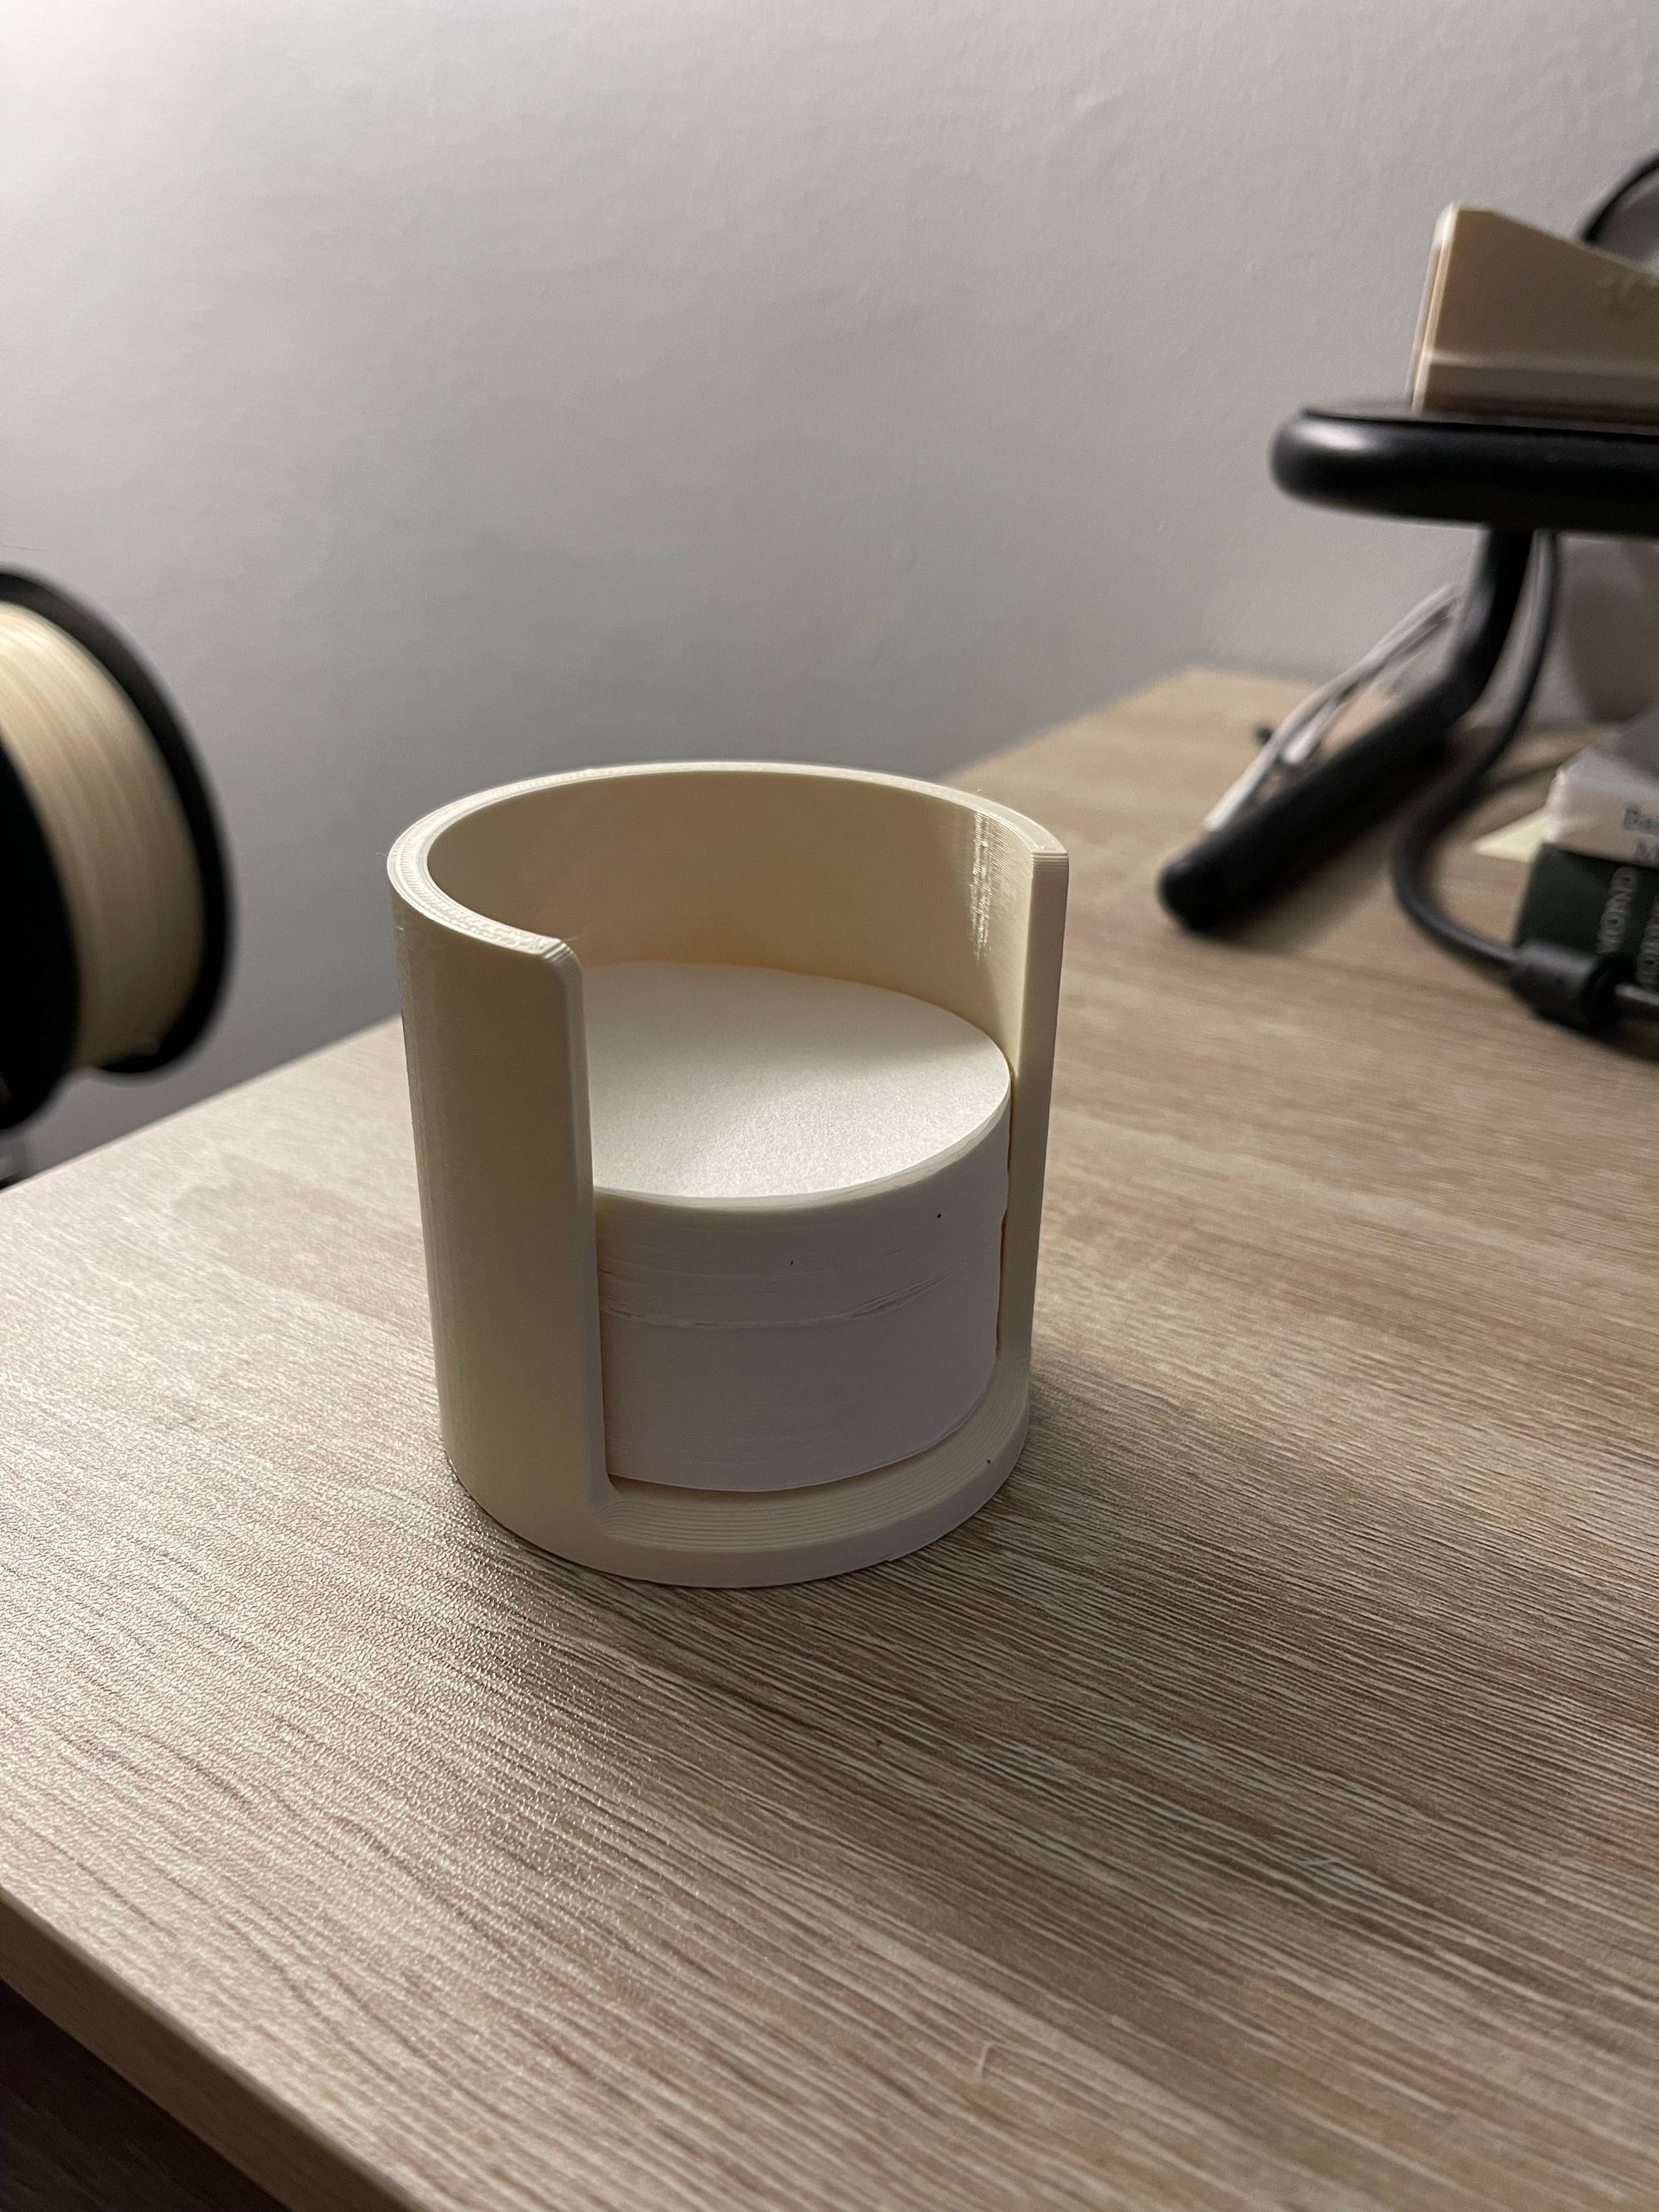
These prints are super cool for projects, around the house, or to sell online on Gumroad or Etsy!
Files To Print
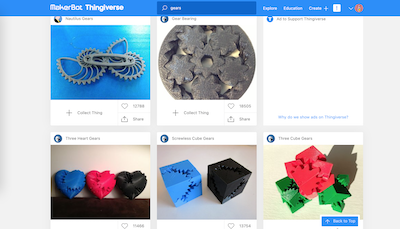
There are two ways to get files to print: downloading and designing. I like Thingiverse and Vectary the most.
Downloading
You’ll also need a slicer to turn the model into print instructions. The software takes the model and does what its name says. It slices the model into layers that the printer can understand. The standard software for this is Cura.
Making A Model
Designing a model and then printing it is super satisfying. Here is my tiny journey:
I needed a hook to put all my hats on. I didn’t want a boring one and didn't like any of Thingiverse's options. I wanted a wall hook that looked like a fish hook!
I got to designing and later I would upload the file to Thingiverse. I took CAD classes in college (I was not very good) so I somewhat knew my way around. Looking back I would have used Vectary as TinkerCAD’s features are very limited. CAD consists of drawing basic shapes and then combining them. I won’t go into the full process but will link to this helpful video. It’s worth checking out.
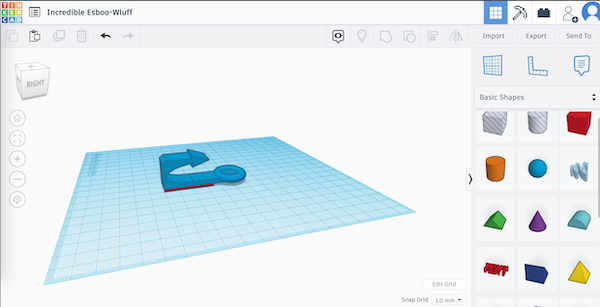
After some time I was able to get a model that I was happy with for my first design in almost seven years.
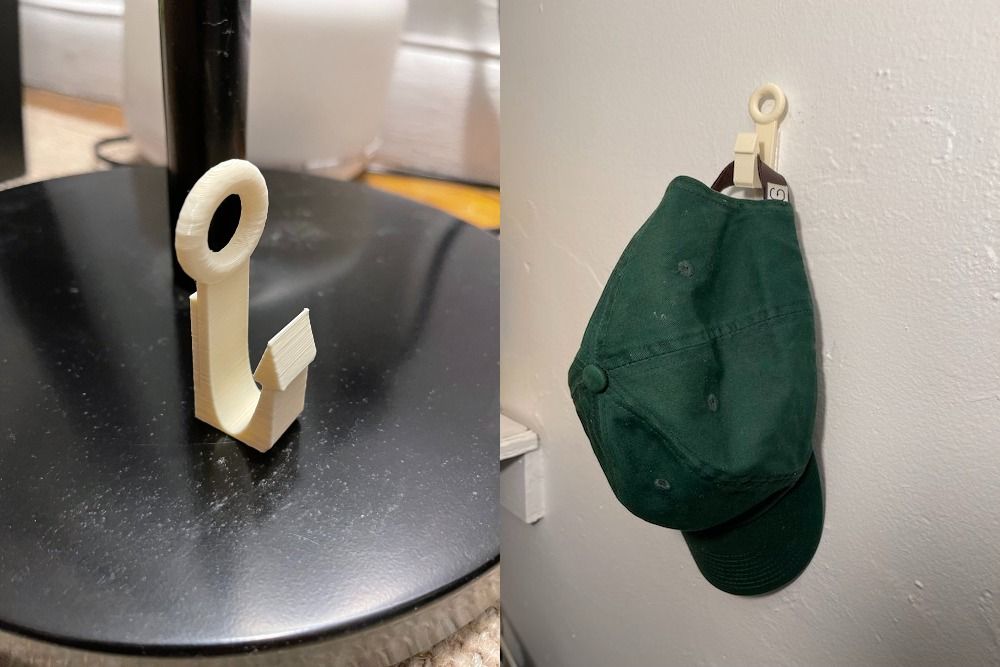
You add a 3M strip to the back and can hang your hats or whatever you like! The hook only takes an hour to print. You can download the file here.
Conclusion
Buying and learning how to use a 3D printer has been awesome. Anyone who loves to build or is looking for inspiration will love it. In the future, I plan on adding upgrades like more filament types like wood or rubber. I also want to use Octoprint with my RaspberryPi so I can control the printer from my phone! I recommend checking the Ender 3 out and if you have any questions feel free to comment or send me an email.